Classic Car Restoration Tips
Did you know that over 60% of vintage vehicle projects stall within the first six months? Many enthusiasts begin with dreams of easy work, drawn to simpler engines and timeless designs. The reality often proves much more complex than anticipated.
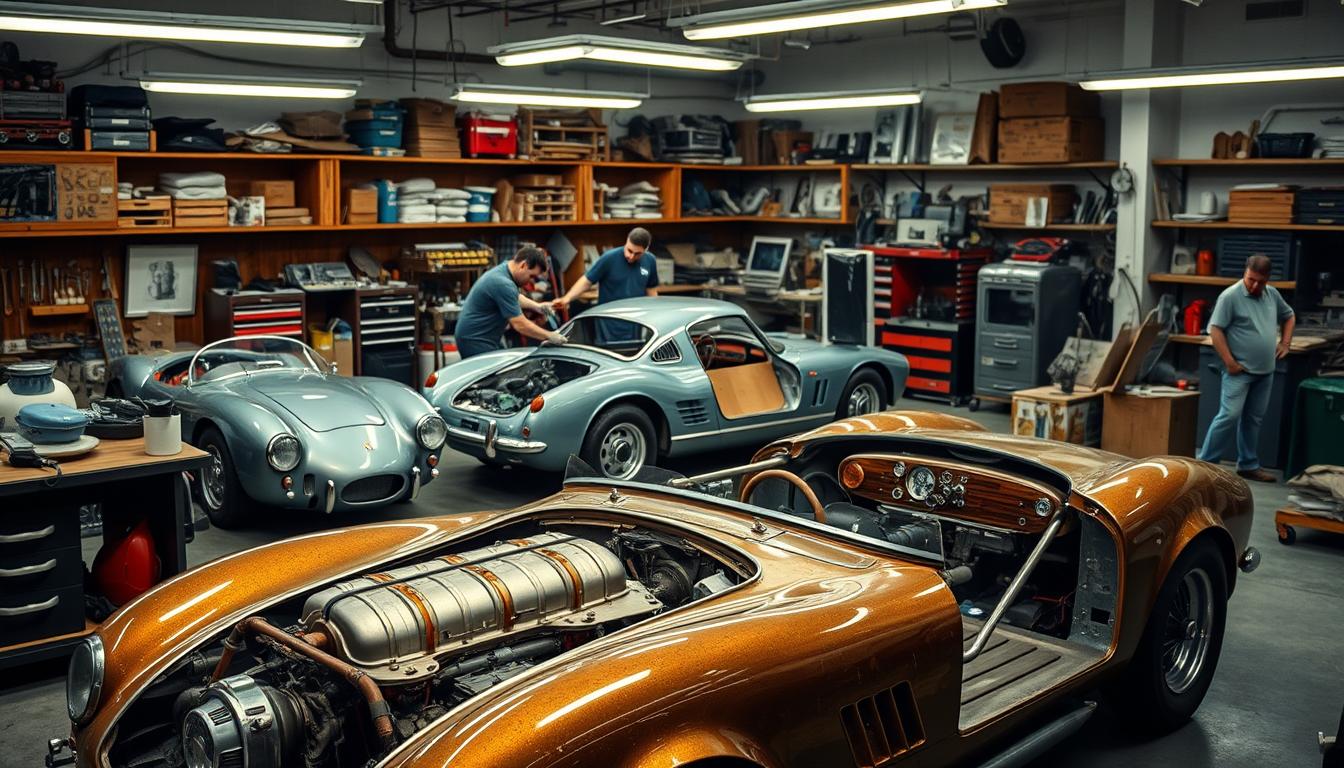
These beautiful machines represent more than just transportation. They’re rolling works of art that connect us to automotive history. Each vehicle tells a story of craftsmanship from bygone eras.
This comprehensive guide helps both newcomers and experienced enthusiasts navigate the rewarding journey. We’ll cover everything from understanding your vehicle’s history to practical advice for assessment and budgeting.
Successful projects require realistic expectations and proper planning. Knowing when to tackle work yourself versus seeking professional help is crucial. The process demands time, financial resources, and skill.
Despite the challenges, seeing a vintage automobile restored to its former glory brings immense satisfaction. This labor of love creates a connection to automotive heritage that modern vehicles simply can’t match.
Key Takeaways
- Most restoration projects face unexpected challenges early on
- Vintage automobiles represent historical craftsmanship and artistry
- Proper planning and realistic expectations are essential for success
- Knowing when to DIY versus hire professionals saves time and money
- The journey requires significant time, skill, and financial investment
- Successful restoration creates a unique connection to automotive heritage
- This guide covers all phases from vehicle selection to final assembly
The Allure and History of Classic Cars

Between the 1920s and 1970s, automobile manufacturing entered an unprecedented era of creativity and innovation. This golden age produced vehicles that blended function with artistic expression.
A Glimpse into the Golden Age and Iconic Models
American brands like Ford, Chevrolet, and Cadillac became household names during this period. The Ford Model T made auto ownership accessible to millions.
Chevrolet’s Bel Air captured middle-class aspirations in the 1950s. Cadillac’s Eldorado set luxury standards for affluent buyers.
Muscle cars emerged with thrilling power and style. Models like the Ford Mustang captivated enthusiasts nationwide.
Evolution of Design, Technology, and Timeless Appeal
Design evolved from simple practicality to sophisticated artistry. Technology advanced with power steering and automatic transmissions.
European contributions added supercars and engineering excellence. Italian and German manufacturers pushed performance boundaries.
| Decade | Key Innovation | Iconic Model | Design Feature |
|---|---|---|---|
| 1920s-1930s | Mass Production | Ford Model A | Art Deco Styling |
| 1940s-1950s | V8 Engines | Chevrolet Bel Air | Chrome Accents |
| 1960s-1970s | Muscle Car Era | Ford Mustang | Aggressive Lines |
These automobiles maintain appeal because they represent cultural milestones. Each vehicle tells a unique story from automotive history.
Understanding this background helps enthusiasts select meaningful projects. The right choice connects personal taste with historical significance.
Assessing and Planning Your Restoration Project

The journey of bringing a vintage automobile back to life begins with honest assessment and detailed preparation. Taking time upfront to properly evaluate your potential project saves countless hours and dollars later.
Evaluating Vehicle Condition and Documenting Its History
Start by thoroughly inspecting the body, engine, and interior. Look for extensive rust or frame damage—these should be automatic deal-breakers unless you have specialized skills.
Always choose a running vehicle when possible. Non-running automobiles can hide expensive mechanical problems that surface deep into the work.
Document the vehicle’s VIN, ownership history, and original specifications. This information proves invaluable throughout the process and enhances future value.
Setting a Realistic Budget and Project Timeline
Create a detailed plan that maps out both your calendar and finances. Breaking work into individual tasks helps maintain focus and prevents impulsive purchases.
Add a 20% cushion to your final cost estimate. Studies show restoration work typically exceeds initial budgets by up to 34% due to unforeseen complications.
“Proper planning prevents poor performance. Map out each phase before purchasing your first part.”
| Planning Factor | Initial Estimate | Realistic Adjustment | Time Required |
|---|---|---|---|
| Body Work | $2,500 | +40% | 3-4 months |
| Engine Rebuild | $3,000 | +25% | 2-3 months |
| Interior Restoration | $1,800 | +30% | 1-2 months |
Research your specific make and model thoroughly before purchase. Understanding common problem areas helps set practical expectations for your timeline and budget.
Classic Car Restoration Tips: Expert Advice for Your Project
Before turning the first wrench, absorbing key methods from experts can save you from common pitfalls. This guidance helps you build a solid foundation for your entire endeavor.
Key Techniques and Methods to Get Started
Seasoned professional David Flamer offers a fundamental piece of advice. He insists on having ample time and suggests a simple financial rule.
“Double whatever starting budget you initially calculate. Just take your time.”
Patience is your greatest asset. Rushing through tasks often leads to mistakes and overlooked details.
Safety must be your top priority. Store gasoline correctly and ensure your workspace has excellent ventilation. Always use proper protective gear when handling tools and chemicals.
Document every step of the process. Take photos during disassembly and keep detailed notes. Record parts used and track costs for each phase.
Invest time in researching your specific vehicle. Connect with other enthusiasts through forums and local clubs. Their shared knowledge is an invaluable resource.
Use components made explicitly for your model. Custom-made parts and fluids often meet original specifications better than generic alternatives. This ensures an authentic result.
Break the project into manageable phases. This approach helps maintain focus and allows you to adjust your plan as you learn. Establish connections with specialists who understand vintage vehicles for expert help.
Tools, Parts, and Materials Needed for Authentic Restoration

A successful rebuild hinges on two critical elements: quality equipment and authentic components. Choosing the right items makes the entire process smoother and more rewarding.
Selecting Quality Tools and Equipment
Your basic toolkit should include wrenches, screwdrivers, and a good set of sockets. For larger tasks, you will need jacks, lifts, and possibly welding gear.
Specialized equipment like paint sprayers and diagnostic tools are also vital. You don’t need to buy everything new. Check online auctions and thrift stores for great deals.
Consider borrowing or renting expensive items like engine cranes. This saves money on tools you might only use once.
Sourcing Original, Reproduced, or Aftermarket Parts
Finding the right components is crucial for authenticity. You have three main options: original, reproduced, or aftermarket parts.
- Buy Used: Local junkyards and online forums are treasure troves for affordable used parts.
- Consider Trade: Connect with other enthusiasts to trade components you no longer need.
- Compare Price: Shop around between OEM and aftermarket options to find the best value.
Modern aftermarket parts often offer better performance and a nicer look. Don’t get overly fixated on absolute purity if it compromises function.
Always aim for materials that match original specs, like correct paint codes. Building relationships with specialty suppliers gives you expert advice on what parts are essential.
DIY vs. Professional Help: Balancing Labor and Expertise

Finding the right balance between hands-on work and expert assistance often determines restoration success. While doing it yourself brings personal satisfaction, knowing when to seek professional help protects your investment.
When to Tackle Restoration Tasks Yourself and When to Seek Help
Some jobs demand specialized equipment and years of experience. Complex areas like bodywork and engine rebuilding often benefit from professional help. Their expertise can prevent costly mistakes.
Consider a hybrid approach for best results. You might handle preparatory work like sanding and dent filling. Then hire experts for the final paint application.
Honestly assess your skills for each task. Use resources like owner’s manuals and online tutorials to expand your knowledge. Tackle jobs where you have proven competence.
If brakes aren’t your strength, purchase pre-assembled kits. But if you excel at electrical work, handle the wiring yourself. Seeking professional help isn’t admitting defeat—it’s smart project management.
Attempting complex work beyond your skill level often costs more to fix. This can derail your entire timeline. Protect your investment by knowing your limits.
Budgeting and Cost-Saving Strategies for Your Restoration Project

Controlling your expenses is just as important as turning a wrench when bringing an old automobile back to life. A smart financial plan keeps your project moving smoothly.
Everyone’s budget is different. There’s always a trade-off between spending money and investing your own time.
Smart Purchasing, Negotiation, and Using Coupon Codes
Always compare prices and research before you buy. Don’t be afraid to negotiate with sellers, as flexibility can save you a lot of money.
Avoid purchasing parts too far in advance. Wait until you disassemble the vehicle to see what you truly need. You might find functional components you can sell online to recoup some cash.
For new items, check multiple websites. Look for discount codes and sign up for mailing lists to catch sales. Free shipping on heavy parts offers huge savings.
Always check the return policy before you buy. This prevents wasted money on incorrect items.
Planning for Hidden Costs and Allowing a Financial Cushion
Unexpected issues are part of any rebuild. It’s wise to add a cushion to your initial estimate.
Research shows projects often exceed budgets by over a third. Adding 20% to your final number creates a safety net.
| Expense Category | Common Hidden Cost | Smart Strategy |
|---|---|---|
| Parts & Materials | Shipping for heavy items | Seek free shipping promotions |
| Professional Services | Additional labor hours | Get multiple quotes upfront |
| Tools & Equipment | Specialized tool rental | Consider borrowing or sharing |
Track every expense in a detailed spreadsheet. This helps you see exactly where your money is going and stay on budget.
Step-by-Step Restoration Process: From Disassembly to Finishing Touches
The heart of any vintage vehicle revival lies in the methodical progression from bare metal to finished masterpiece. This systematic approach ensures every component receives proper attention.
Disassembly, Cleaning, and Rust Repair
Begin by carefully taking apart the vehicle. Document each step with photos and labels. This prevents confusion during reassembly.
Thorough cleaning reveals the true condition underneath. Remove old paint and grime to expose bare metal. Address rust issues immediately for structural integrity.
Metal repair requires cutting out damaged sections. Welding new patches restores strength. Proper rust treatment prevents future corrosion problems.
Bodywork, Paint, and Detailing the Exterior
Body repair transforms the vehicle’s appearance. Fix dents and smooth imperfections. Quality filler application creates flawless surfaces.
The painting process brings dramatic visual change. Priming prepares the surface for color. Matching original specifications maintains authenticity.
Professional application ensures lasting beauty. Clear coat protection preserves the finish. Detailing adds the final sparkling touches.
Engine, Mechanical Components, and Final Reassembly
Mechanical restoration focuses on performance and reliability. Rebuild the engine with new pistons and bearings. Inspect transmission and suspension systems carefully.
Electrical work demands special attention. Replace worn wiring and switches. Modern upgrades can improve safety while maintaining vintage character.
Interior refurbishment completes the transformation. Reupholster seats and replace carpeting. Match original styles for authentic results.
Final reassembly follows your documentation precisely. Each component returns to its proper place. The finished vehicle represents your dedication throughout this rewarding process.
Legal, Safety, and Documentation Considerations
Before the first tool touches metal, addressing legal and safety considerations protects your entire investment. These foundational steps ensure your project proceeds smoothly from start to finish.
Ensuring Compliance, Proper Registration, and Safety Measures
Start by gathering all paperwork for your auto. Verify the title and VIN match perfectly. Research local registration rules for older vehicles.
Some areas offer special classifications for antique automobiles. Make sure you understand emissions requirements in your region. Proper insurance coverage protects your work.
Personal protection should be your top priority. Always wear safety glasses and gloves. Use respirators when working with chemicals.
Proper ventilation is essential for your workspace. Gasoline requires careful handling and approved containers. Take time to read all tool instructions thoroughly.
Keep detailed records of every modification. This documentation proves valuable for insurance and future sales. A clear paper trail establishes your vehicle’s history.
Checking the overall condition of your workspace prevents accidents. Following these guidelines keeps your project safe and legally compliant from day one.
Conclusion
Your commitment to bringing automotive history back to life deserves the right products and support for lasting results. This journey requires significant dedication, but the satisfaction of seeing your vintage beauty restored is truly unmatched for enthusiasts.
This guide has covered everything from initial assessment through final assembly. Remember to balance DIY work with professional help and connect with fellow enthusiasts for shared learning. Quality products designed specifically for older vehicles ensure optimal performance.
For specialized engine care, consider Driven Racing Oil—experts who understand vintage automotive needs. Now armed with comprehensive knowledge, you’re ready to turn your automotive dreams into reality through careful restoration.
FAQ
How do I know if a vehicle is a good project to start with?
What is the most important thing to consider before beginning?
Can I do the work myself, or should I hire a professional?
Where is the best place to find components for my auto?
How can I save money on my project?
What are the essential tools I need to get started?
How long does a full rebuild typically take?
What legal and safety steps should I take?

Sharon Molly is a content creator in lifestyle, fashion, and travel, delivering style-savvy advice and destination insights to inspire confident living. With a background in digital media, she combines aesthetics with practical guidance for modern women on the go.