Ice Melting Experiments
Have you ever watched a child’s eyes light up when they discover science in action? Last winter, my niece Mia asked why sidewalks “magically” get less slippery after her dad sprinkles salt. We grabbed cubes from the freezer, some table salt, and turned our kitchen into a lab. What happened next sparked her curiosity about everyday phenomena – and it can do the same for your young learners too.
These hands-on activities aren’t just about watching frozen water disappear. They’re gateways to understanding why substances like salt or sugar change how quickly solids transform into liquids. Perfect for grades K-3, these projects turn basic household items into powerful teaching tools.
You’ll need nothing fancier than a muffin tin, a few spices from your pantry, and that half-used bag of Epsom salts buried in your laundry room. As kids test their predictions (“Will sugar work faster than baking soda?”), they’re actually exploring freezing point depression – a concept even adults find fascinating!
Key Takeaways
- Transform kitchens into interactive labs using common materials
- Demonstrate real-world chemistry through safe, observable changes
- Adapt activities for different ages and learning styles
- Teach measurement skills and hypothesis testing without textbooks
- Connect playtime to STEM career pathways
Introduction

What if you could turn snack time into a science lesson? These projects transform ordinary moments into discovery zones, whether you’re testing how fast a frozen cube disappears or tracking patterns in liquid movement. From colorful dyed shapes in muffin tins to layered saltwater solutions, each setup reveals surprising truths about everyday materials.
Overview of the Experiments
Young learners might sprinkle table salt on frozen blocks while older students measure precise water temperatures. One group could chart melt rates using stopwatches, while another compares how sand versus sugar affects solid surfaces. Each activity builds foundational skills – pouring liquids teaches measurement, while recording results sharpens observation abilities.
Teachers often pair these tasks with storybooks about Arctic ecosystems or climate discussions. This bridges playtime with real-world issues like rising sea levels. The flexibility keeps students engaged across multiple sessions, letting them revisit hypotheses as their understanding grows.
Learning Objectives and Benefits
Through these explorations, kids grasp why ocean currents move differently than lake water. They’ll see how adding substances changes physical properties – a core concept in both cooking and chemistry. Most importantly, they practice forming questions instead of waiting for answers.
Hands-on problem-solving builds confidence alongside knowledge. A third-grader might proudly explain how salt “makes ice sad” (melting faster), while a high schooler calculates salinity percentages. Either way, they’re mastering the scientific method through trial, error, and those magical “aha!” moments.
Understanding the Science Behind Melting Ice
Ever wonder why sprinkling salt on a winter sidewalk prevents slippery surfaces? The answer lies in two key scientific concepts that transform ordinary observations into teachable moments. Let’s explore how energy movement and molecular interactions shape these everyday phenomena.
Heat Transfer and Energy Flow
When warmer air surrounds frozen water, heat energy flows like invisible waves. This energy makes molecules in the solid state vibrate faster until their rigid structure loosens. Materials touching the frozen matter – like metal pans or wooden spoons – influence speed through their thermal conductivity.
Aluminum transfers heat quicker than plastic, explaining why cubes disappear faster on baking sheets. As temperatures rise, hydrogen bonds between water molecules stretch and eventually break. This shift from orderly crystals to free-flowing liquid marks a fundamental phase change.
Freezing Point Depression Explained
Salt plays a fascinating role by disrupting water’s natural freezing pattern. Pure liquid becomes solid at 32°F, but add sodium chloride, and the mixture stays liquid down to -6°F! The salt particles block ice crystals from forming properly, creating a lower freezing threshold.
This principle keeps roads safer in winter and makes homemade ice cream freeze faster. Different substances like sugar or sand alter outcomes too – some lower freezing points while others simply insulate surfaces. Through these interactions, learners discover how chemistry solves real-world problems.
Ice Melting Experiments: A Hands-On How-To Guide
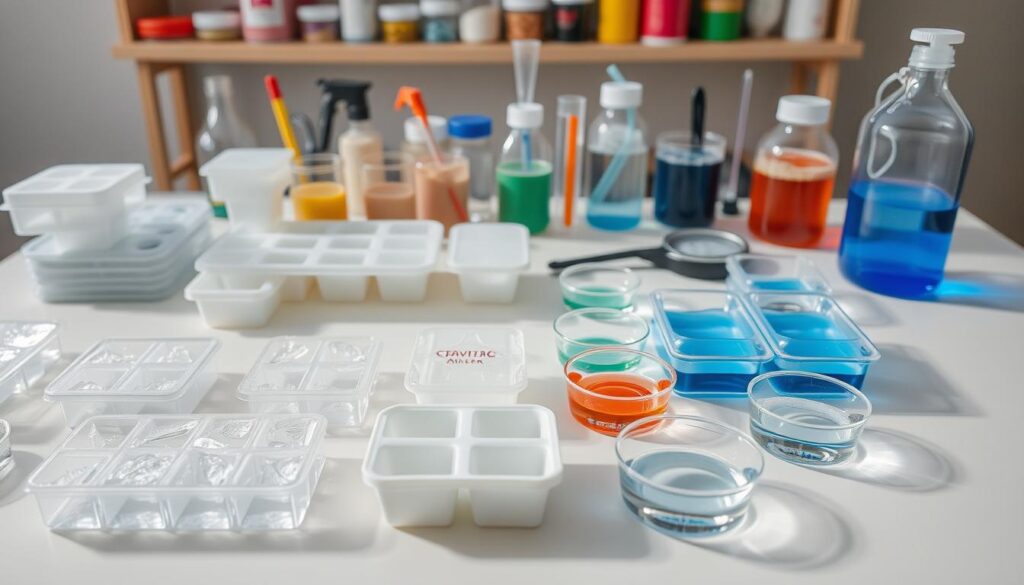
Gathering the right tools transforms simple curiosity into real discovery. Whether you’re setting up stations for a classroom or prepping kitchen counters for weekend fun, having materials ready keeps young scientists focused on the magic of transformation.
Materials Needed for Success
Start with standard ice cubes made in identical trays – silicone molds work best for uniform shapes. Clear plastic cups let kids watch water patterns, while muffin tins let groups test six variables side-by-side. A salt shaker and sugar bowl become scientific instruments when paired with measuring spoons.
For deeper exploration, collect coarse sea salt, baking soda, and playground sand. These create visible differences in how frozen cubes behave. Stopwatches turn guesses into data: “Did the sugar cube finish first? Let’s check the numbers!”
Don’t forget the extras that spark joy. Food coloring reveals hidden melt paths, and magnifiers help spot tiny cracks. One teacher shared: “Cotton balls surprised us – they slowed thawing better than foil!”
Set up stations with paper towels and labeled containers to avoid mix-ups. Keep thermometers handy for older students tracking temperature shifts. With everything within reach, even spilled water becomes a learning moment – not a mess.
Step-by-Step Experiment Procedures for Kids and Classrooms
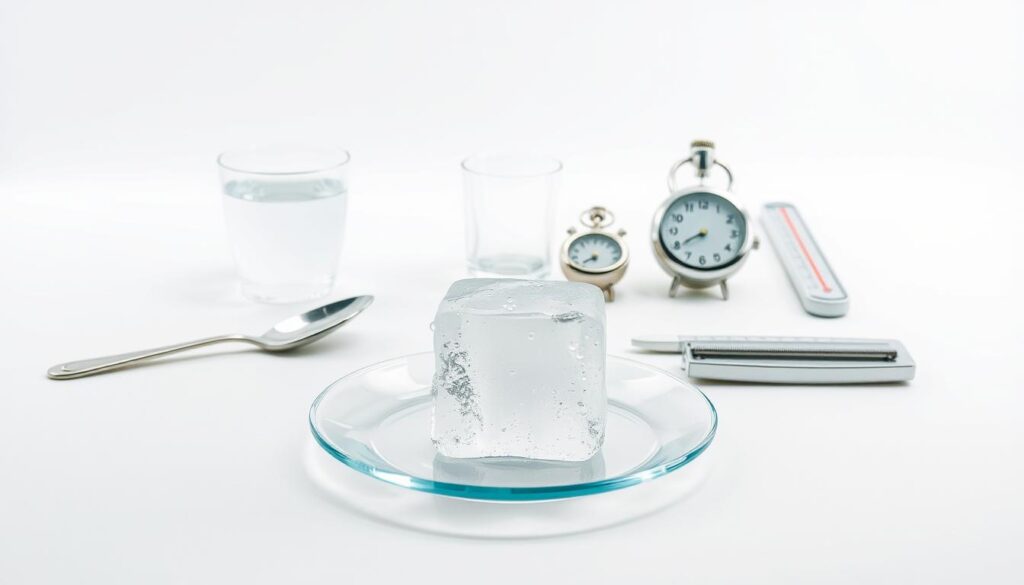
Transform ordinary kitchen items into scientific tools with these easy-to-follow steps. Proper setup ensures clear comparisons between treated samples and control groups, making patterns easier to spot.
Setting Up the Experiments
Begin by labeling six identical cups with numbers 1-6. Place 4-5 frozen cubes in each container using measuring spoons for consistency. This eliminates variables affecting results.
| Cup Number | Substance Added | Amount | Purpose |
|---|---|---|---|
| 1 | Baking Soda | 3 tablespoons | Test alkaline effects |
| 2 | Salt | 3 tablespoons | Demonstrate freezing point depression |
| 3 | Sand | 3 tablespoons | Compare insulation properties |
| 4-6 | None | N/A | Control groups |
Recording Observations and Data
Start stopwatches immediately after adding substances. Check samples every 10 minutes, noting which cube disappears first. Younger students can draw smiley faces on melting cups, while older groups track exact times.
Repeat trials three times to confirm patterns. A teacher shared: “Kids love graphing their findings – it turns abstract concepts into visual stories.” Use color-coded charts to simplify comparisons between test groups.
Advanced Techniques for Controlling Ice Melting

Did you know the type of salt you use determines how quickly frozen surfaces disappear? Mastering material science turns ordinary substances into powerful tools for managing phase changes. Let’s explore how common kitchen items become precision instruments for altering water’s behavior.
Chemical Champions vs. Physical Players
Table salt reigns supreme in melting races. Its sodium and chloride ions break hydrogen bonds in frozen water, creating a saltwater solution that resists refreezing. Baking soda follows closely – though less effective, its powder form spreads evenly across surfaces.
Sand plays defense differently. Unlike chemicals, it provides traction without changing temperatures. A road crew supervisor notes: “We mix sand with salt for icy hills – safety meets science.”
| Material | Effect on Frozen Water | Real-World Use |
|---|---|---|
| Table Salt | Lowers freezing point by 15°F | Highway de-icing |
| Baking Soda | Reduces freezing by 5°F | Homemade ice packs |
| Playground Sand | No temperature change | Winter walkways |
Particle size matters. Crushed salt works faster than rock crystals – more surface area means quicker reactions. Try grinding different salts to test melt speeds!
Concentration creates curves. Doubling salt amounts accelerates melting until the water can’t dissolve more. This saturation point becomes clear when extra salt piles up uselessly.
From preserving fish to making smooth ice cream, these principles shape daily life. Next time you sprinkle salt, remember – you’re conducting chemistry that keeps communities safe!
Classroom and Home Experiment Tips

Great learning happens when curiosity meets structure. Whether guiding a classroom or mentoring at home, these strategies turn simple activities into meaningful discoveries. Start by matching tasks to age levels – preschoolers can predict outcomes while middle schoolers design their own tests.
Engaging Students with Active Learning
Divide learners into small groups with clear roles: timer keeper, recorder, material manager. This keeps everyone invested. For younger children, use picture charts instead of written notes. Older students thrive when challenged to improve their methods between trials.
Ask open-ended questions like “What clues tell you energy is moving here?” instead of explaining concepts upfront. A science teacher shares:
“When kids struggle to explain their observations, I respond with ‘What makes you say that?’ – it sparks deeper thinking.”
Make cleanup part of the activity. Have teams race to sort materials or invent storage solutions. During waiting periods, encourage quick sketches of changing shapes or group predictions about next steps.
Connect findings to real-world scenarios. Compare salt’s effects on frozen surfaces to how cities handle snowy roads. Track temperature changes to introduce weather patterns. Every demonstration becomes a stepping stone to broader STEM concepts.
Keep safety simple but consistent. Assign spill captains and use plastic trays for messy work. Rotate group leaders to build confidence. With thoughtful setup, even chaotic moments become teachable opportunities.
Exploring Density and Salinity Effects on Ice Melting
What do kitchen experiments reveal about ocean currents? Let’s explore how basic materials like table salt and frozen cubes can model Earth’s most vital water systems. These activities help learners visualize hidden forces shaping our planet.
Fresh vs. Salt Water Face-Off
Here’s a twist: frozen cubes disappear quicker in fresh water than salty solutions. Why? Melted freshwater sinks in room-temperature glasses, creating circulation currents that speed up the process. In saltwater, the fresh melt floats – forming a chilly barrier that slows thawing.
Mirroring Marine Movements
This simple setup mirrors Arctic sea patterns. When glacial freshwater flows into salty oceans, it forms distinct layers affecting marine life and temperatures. Students see how density differences drive powerful underwater movements visible in satellite images.
Try this: Add blue food coloring to frozen cubes. Watch how meltwater snakes through saltwater versus sinking rapidly in fresh glasses. These colorful flows make abstract concepts tangible, showing why polar ice changes impact global currents.
FAQ
How does salt make frozen water melt quicker?
What household items can I use instead of salt for these tests?
Why should we track temperature changes during the activity?
Can young learners safely handle these projects at home?
How does this relate to real-world environmental science?
What’s the best way to keep students engaged during group tests?

Eduard Kingly is a travel and lifestyle content creator with a focus on personal development and education. He combines firsthand travel experiences with research-driven insights to guide readers in discovering new places, building better habits, and pursuing meaningful learning.

