Sensory Bottles with Glitter and Beads
“The hands are the instruments of man’s intelligence,” observed Maria Montessori. This timeless truth comes alive when crafting glitter-filled containers that blend play, discovery, and emotional wellness. These vibrant creations aren’t just eye-catching—they’re gateways to focused learning and mindful moments.
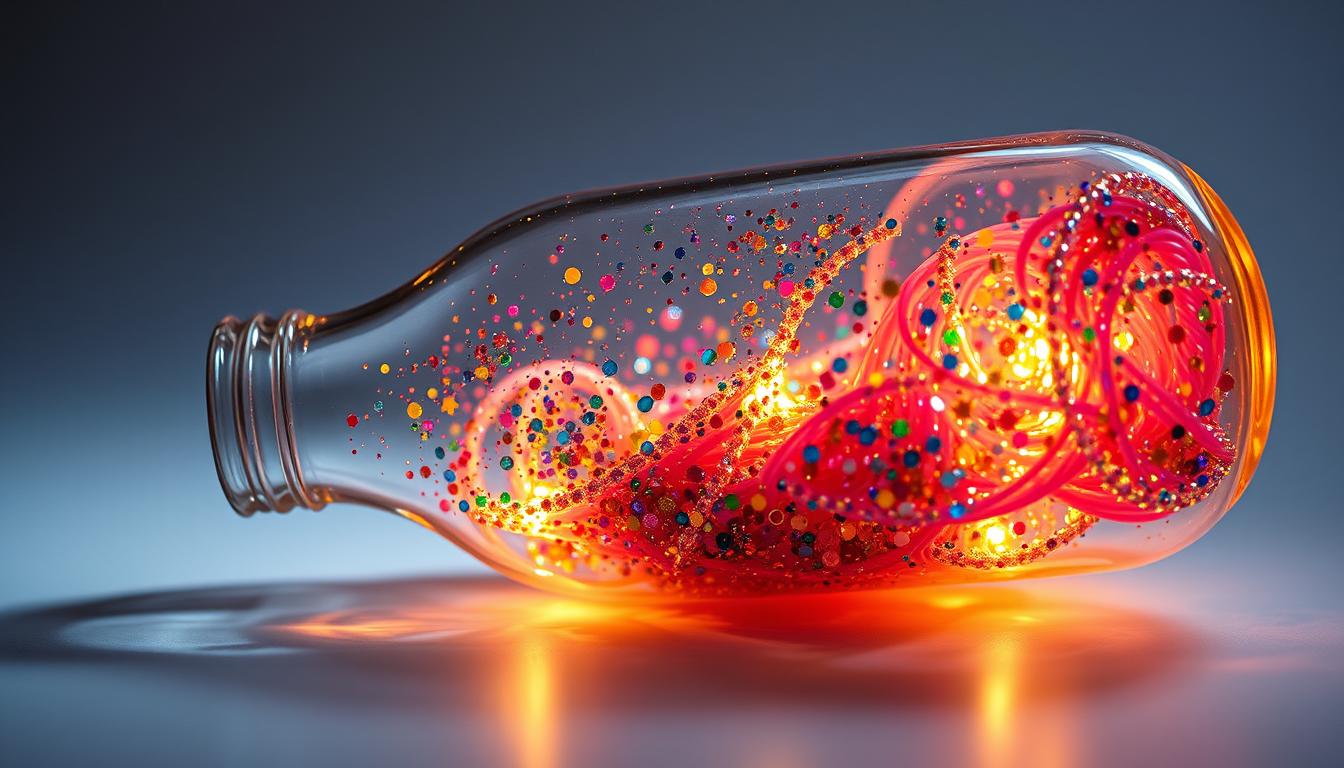
Imagine a tool that captivates restless minds while teaching cause-and-effect relationships. Swirling beads and shimmering particles create hypnotic patterns, helping children process emotions through tactile play. Adults, too, find calm in watching glitter settle—a portable oasis during hectic days.
Educators value these projects for sparking curiosity about science concepts like viscosity or color mixing. Parents appreciate their role in reducing screen time with hands-on activities. Therapists use them to support emotional regulation in clients of all ages.
What makes these tools so effective? Their simplicity. With basic materials like clear containers, biodegradable glitter, and recycled beads, anyone can design personalized versions. Adjust ingredient ratios for faster or slower motion, add themed trinkets for scavenger hunts, or layer colored oils for lava lamp effects.
Key Takeaways
- Promote focus and calm through visually engaging motion
- Customize designs for age groups and learning goals
- Combine science education with emotional regulation
- Use eco-friendly materials for safer exploration
- Create interactive tools for classrooms or home use
Introduction: Discover the Magic of Sensory Bottles

Ever wondered how a mix of water and glitter can become a powerful tool for focus and relaxation? These captivating creations serve as portable windows to mindfulness, blending play with practical benefits. Perfect for homes, schools, or travel, they adapt to various needs while standing the test of time.
What Are Sensory Tools?
Sealed containers filled with dynamic materials create interactive experiences. Glitter swirls dance alongside sinking beads, offering visual and tactile feedback. Originally designed for therapeutic support, they’ve become essential in modern learning environments.
Educator Amy Parks notes: “These tools turn abstract concepts into tangible discoveries.” From demonstrating liquid density to managing overwhelming emotions, their applications span far beyond simple crafts.
Benefits for All Ages and Settings
Different environments unlock unique advantages:
| Setting | Best For | Key Perks |
|---|---|---|
| Homes | Stress relief | Quiet time activities |
| Schools | Science experiments | Observation-based learning |
| Therapy rooms | Emotional grounding | Non-verbal expression |
Children develop focus by tracking falling beads, while adults use them for quick mental resets. Their durable construction ensures years of use—a single project can support countless moments of discovery. Whether used as a calm jar during meltdowns or a discovery bottle for science lessons, their impact remains profound.
Essential Supplies and Materials for Your Project

What separates a mesmerizing creation from a lackluster one? The answer lies in your material choices. Whether designing for educational use or emotional support, every component impacts the experience.
Selecting the Perfect Bottle
Your container sets the stage for success. VOSS water bottles lead the pack with three size options and wide mouths perfect for chunky beads. Their flat bottoms prevent tipping during play. Budget-conscious crafters love Sparkling ICE containers—sturdy and sleek, though better suited for fine glitter.
| Bottle Type | Best For | Considerations |
|---|---|---|
| Craft bottles | Toddlers | Easy-grip shapes |
| Aquaball | Preschoolers | Ball-shaped design |
| Peanut butter jars | Budget projects | Wide openings |
Gathering the Right Items
Build your toolkit with purpose. Fine glitter creates soothing cascades, while biodegradable options appeal to eco-warriors. Mix in alphabet beads for learning games or poly-pellets for satisfying clicks. Don’t overlook household treasures—dried beans make excellent natural fillers.
Where to shop? Check local dollar stores for affordable beads and grocery stores for VOSS water bottles. Online retailers stock specialty items like glow-in-the-dark sand. Remember: The best projects often start with items already in your recycling bin!
Step-by-Step Guide to Crafting Your Sensory Bottle
Creating a personalized glitter jar is simpler than you think, with just a few key steps. This hands-on process combines practical science with creative flair, letting you control every aspect of your design. Let’s dive into the essentials for building a durable, engaging tool.
Mixing Liquid Ingredients and Fillers
Start by cleaning your container thoroughly. Use peanut butter to remove sticky labels – it’s eco-friendly and effective. Choose your liquid base based on desired effects:
| Liquid | Best For | Movement Speed |
|---|---|---|
| Water | Quick flow | Fast |
| Corn syrup | Slow swirls | Ultra-slow |
| Hair gel | Suspended items | Static |
| Baby oil | Metallic pieces | Medium |
Fill your bottle ¾ full with warm water for most projects. Add clear glue gradually – more creates thicker liquid. For colorful bases, mix 2-3 drops of food coloring first. Layer heavier beads before sprinkling glitter.
Proper Assembly and Sealing Techniques
Leave 1 inch of space at the top for mixing. Test movement by gently tipping the container. Adjust ingredients if beads sink too fast. When satisfied, seal permanently:
- Apply hot glue around bottle threads
- Press cap firmly while glue sets
- Wrap electrical tape for extra security
Pro tip: Add a drop of glycerine to prevent glitter clumping. Let your creation sit overnight before vigorous shaking. This ensures ingredients fully blend for maximum visual impact.
Sensory Bottles: Creative Ideas and Customization

Transform ordinary materials into extraordinary learning tools through imaginative customization. These dynamic creations become personalized worlds that spark curiosity and joy, whether used for playtime or classroom demonstrations.
Color and Texture Experiments
Mix materials to create mesmerizing effects. Try layering fine holographic glitter with chunky beads for contrasting movement speeds. For educational twists, add letter beads that float through golden corn syrup like alphabet soup.
| Theme | Materials | Learning Focus |
|---|---|---|
| Rainbow | Water beads + gradient glitter | Color theory |
| Galaxy | Black liquid + glow stars | Astronomy basics |
| Nature | Pinecones + dried flowers | Botany observation |
Seasonal and Specialized Designs
Celebrate holidays through themed projects. Halloween versions might feature orange glycerin with bat-shaped confetti, while Valentine’s Day designs could use heart beads in pink glitter suspension. For lasting appeal:
- Use mineral oil with metallic confetti for anniversary gifts
- Create beach-themed versions with real sand and tiny shells
- Make glow-in-the-dark space scenes with phosphorescent paint
Educational specialist Dr. Lisa Cooper notes: “Themed discovery bottles turn abstract concepts into tactile experiences children remember.” From floating LEGO bricks demonstrating buoyancy to magnetic filings showing attraction forces, these tools make complex ideas accessible.
Troubleshooting and Expert Tips for a Flawless Craft

Even the most carefully planned projects can hit snags. But with a few expert strategies, you’ll keep your creations functional and frustration-free for years. Let’s explore solutions to common challenges and elevate your crafting game.
Common Mistakes and How to Avoid Them
Sticky situations start with cleanliness. Always make sure your jar and objects are spotless before assembly—especially when using corn syrup. A single breadcrumb can turn into moldy confetti over time!
Glitter refusing to sink? Add a pea-sized drop of dish soap. For stubborn floaters, increase glue content gradually. Keep mind that thicker liquids slow movement, while watery mixes create faster flows—test ratios in small batches first.
- Metal mishaps: Never pair magnets with water. Use mineral oil instead to prevent rust
- Seal strength: Reapply glue every 3 months where lids meet containers
- Durability checks: Choose plastic over glass for kids’ projects
Seasoned crafter Mia Torres advises: “Do trial runs before sealing permanently. Adjust colors, weights, and liquid types until you love the motion.” This simple make-or-break step saves time and materials.
Finally, match your design to the user. Lightweight containers work best for small hands, while heavier jars suit decorative displays. Keep mind safety first—double-check that all components stay securely inside through vigorous shaking.
Conclusion
Crafting sensory bottles with glitter and beads isn’t just about making pretty objects—it’s about building bridges between play and growth. A well-made creation becomes a lasting companion, surviving countless shakes and discoveries. Families find them indispensable during car rides, while teachers weave them into science lessons about motion and density.
The magic lies in their layered value. Through designing your own sensory bottle, you’ll explore physics concepts like viscosity while practicing color coordination. These fun sensory activities strengthen problem-solving skills as you test different bead sizes or adjust liquid thickness.
For long-term success, choose durable containers and seal them properly. A single project can spark curiosity for years, adapting as children grow from tracking sparkles to conducting timed flow experiments. Their simplicity makes them perfect for busy homes and dynamic classrooms alike.
Whether crafting a basic calming jar or an intricate discovery experience, you’re creating more than a craft. You’re building a tool that nurtures focus, creativity, and emotional resilience—one glitter swirl at a time.
FAQ
What’s the best container to use for a homemade discovery jar?
How do I prevent glitter from clumping or sinking too fast?
Can I add small toys or themed items to my project?
Is this craft safe for toddlers?
Why does my liquid look cloudy after sealing?
How long do these handmade items last?

Eduard Kingly is a travel and lifestyle content creator with a focus on personal development and education. He combines firsthand travel experiences with research-driven insights to guide readers in discovering new places, building better habits, and pursuing meaningful learning.