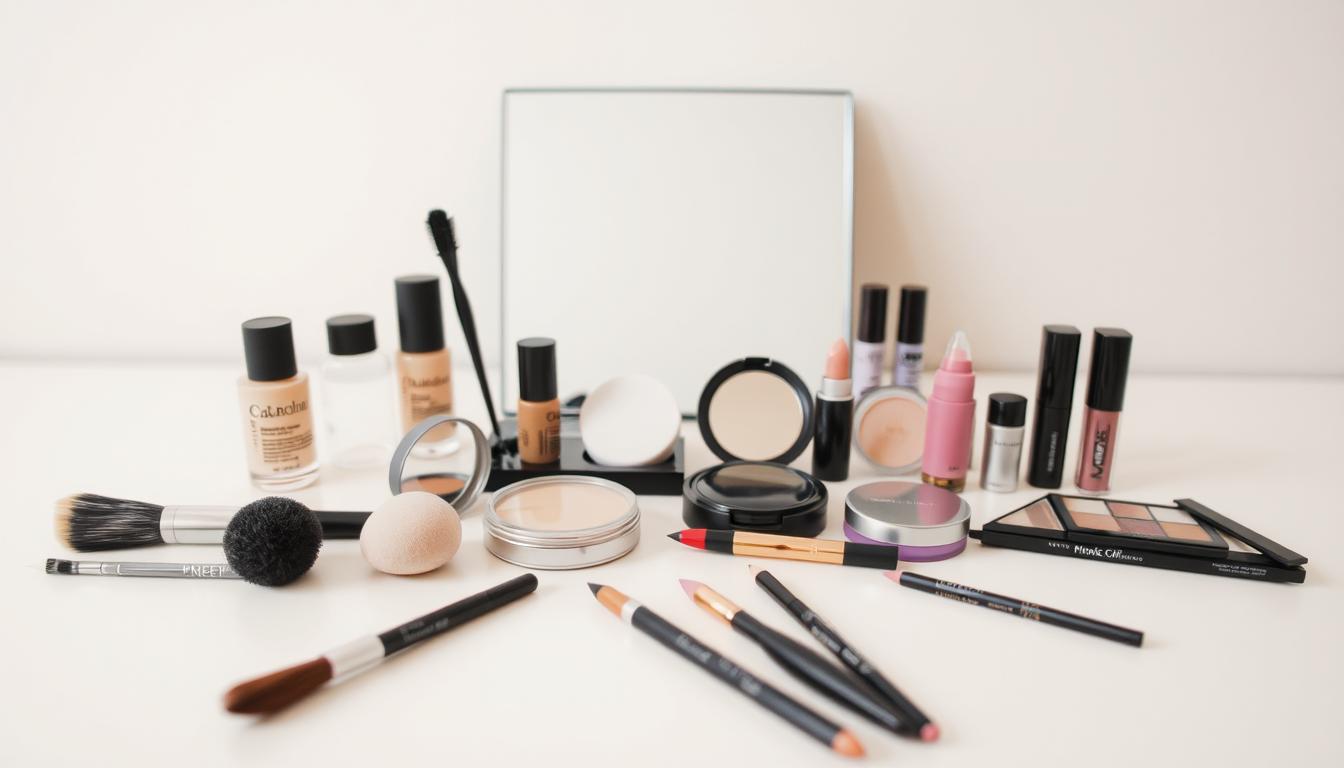
Makeup 101: Top Beginner Makeup Tips & Tricks
Did you know 72% of newcomers to cosmetics feel overwhelmed by the sheer variety of products available? This statistic highlights a common challenge for those just starting their beauty journey. But here’s the good news: mastering a polished, everyday makeup look doesn’t require endless tools or expertise—just the right guidance.
Whether you’re experimenting with your first eyeliner or navigating foundation shades, this guide is designed to simplify the process. Beauty is deeply personal, and your routine should reflect what makes you feel confident. Think of cosmetics as an extension of your creativity—a way to enhance, not hide, your natural features.
Drawing from updated techniques (revised January 2024), we’ll break down everything from selecting the right makeup products to applying them seamlessly. You’ll learn how to build a routine that suits your lifestyle, avoids common pitfalls, and celebrates individuality. Ready to transform your approach? Let’s dive in.
Key Takeaways
- Cosmetics are a form of self-expression, not a one-size-fits-all solution.
- Simplified routines help avoid overwhelm for those new to beauty.
- Updated methods ensure relevance to current trends and skin-friendly practices.
- Confidence grows when techniques align with personal preferences.
- Practical tools make achieving a polished finish easier than ever.
Introduction to Makeup for Beginners
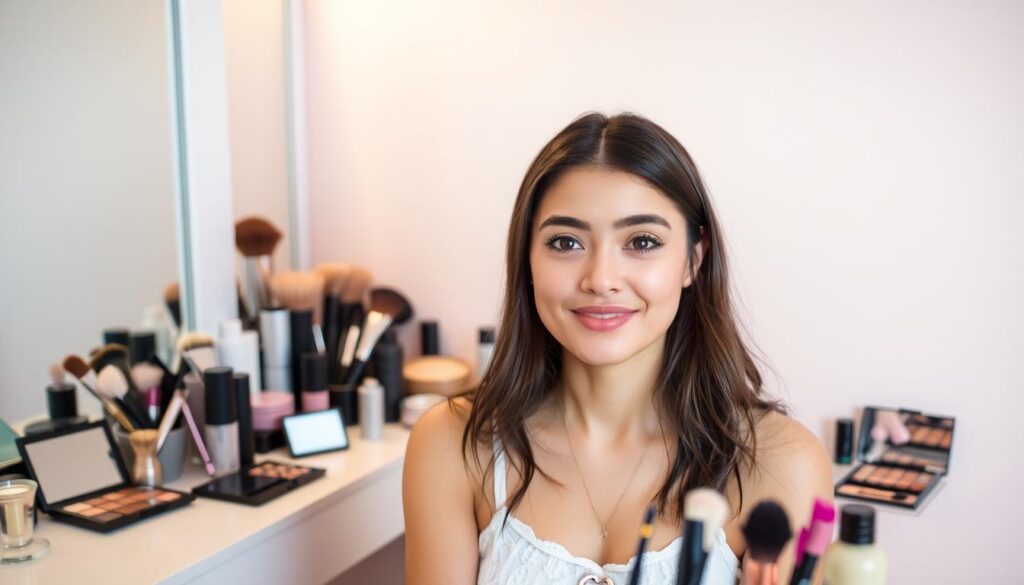
Every makeup journey begins with a single step—but knowing which step to take first can feel puzzling. Think of it like learning to cook: you don’t need every spice in the rack, just the essentials that work for your taste. The same applies to cosmetics. Start by exploring what makes your skin unique, and the rest becomes simpler.
Understanding the Makeup Journey
Your skin type and skin tone are your roadmap. Oily, dry, or combination skin? Cool or warm undertones? These details shape everything from foundation choices to how long your look lasts. Beginners often struggle with mismatched shades or products that don’t play well with their face. A little research upfront saves time and frustration later.
Why Makeup Education Matters
Quality tutorials and guides turn confusion into confidence. For example, knowing how to blend foundation around the eye area prevents that dreaded “cakey” effect. Experts agree: a makeup routine tailored to your needs isn’t just about aesthetics—it’s about celebrating what makes you unique. As one artist puts it, “Makeup is art, and your skin is the canvas.”
Newcomers often worry about “getting it wrong,” but there’s no universal rulebook. Experiment, adjust, and remember—every pro started exactly where you are now.
Essentials of Skincare and Primer
Imagine painting a masterpiece on uneven canvas—it wouldn’t stick, right? Your skin works the same way. A glowing finish starts long before you touch a brush. Proper prep creates the ideal base for cosmetics while protecting your face throughout the day.
Cleansing, Moisturizing, and Preparing Your Skin
Start with a clean slate. Use gentle cleansers that match your skin type—creamy formulas for dry skin, foaming options for oily skin. Follow with moisturizer: hyaluronic acid serums add bounce to parched complexions, while oil-free gels keep shine at bay. “Hydration is non-negotiable,” says dermatologist Dr. Lena Torres. “It plumps fine lines and helps products blend evenly.”
Choosing the Right Primer for Your Skin Type
Primers act like double-sided tape for your routine. For textured areas, blurring formulas smooth pores. Dry patches? Try hydrating primers with squalane. Oily zones benefit from mattifying versions that control excess sebum. Pro tip: let primer set for 60 seconds before applying other products—this gives it time to bond with your skin.
Consistency matters more than complexity. A 3-step prep (cleanse, moisturize, prime) takes minutes but transforms how cosmetics wear. Skip shortcuts, and your efforts will show—literally.
Finding the Perfect Foundation for Your Skin
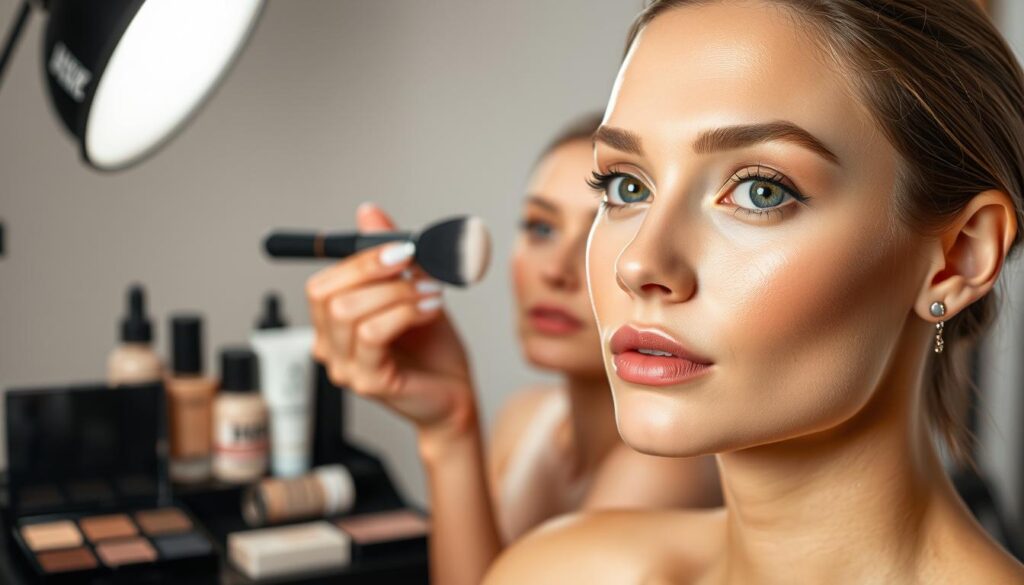
Think of foundation as your beauty blueprint—it creates the structure for everything that follows. The right formula enhances your natural glow while addressing specific needs. Start by assessing two critical factors: your skin tone and texture.
Understanding Your Skin Tone and Type
Check your wrist veins under natural light. Blue-purple hues suggest cool undertones; greenish veins mean warm tones. Neutral? Your veins appear mixed. This determines whether you need a pink-, yellow-, or olive-based shade.
Next, identify your skin type. Oily complexions thrive with oil-free liquids or powders. Dry skin loves hydrating cream formulas. Combination types can mix textures—matte where needed, dewy elsewhere. “Foundation should adapt to you, not the other way around,” notes celebrity artist Mia Chen.
Application Techniques for a Flawless Base
Liquid foundations work best with flat-top brushes for full coverage. Dab product onto your face, then buff in circular motions. For cream formulas, use a damp sponge to press pigment into pores—this creates an airbrushed effect.
Powder options need fluffy kabuki brushes. Swirl lightly, building coverage gradually. Always blend past your jawline to avoid harsh lines. Finish with a setting spray for all-day wear.
Check labels for terms like “self-setting” or “buildable.” Test shades on your cheek—not your hand—and wait 10 minutes. The perfect match disappears into your skin seamlessly.
The Power of Concealer, Blush, and Highlighter
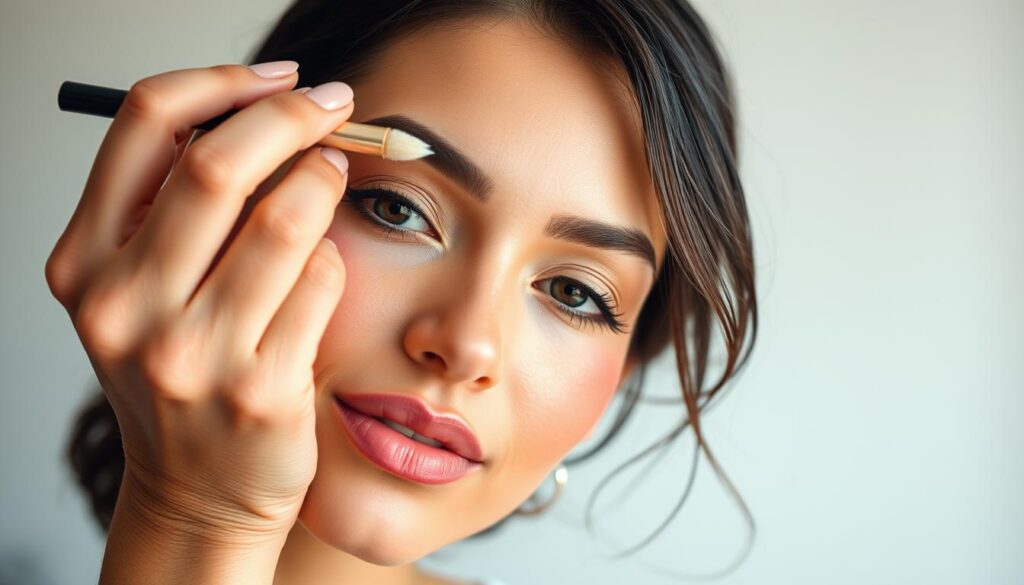
The right trio of products can transform your complexion from tired to radiant in minutes. These tools aren’t about masking—they’re about strategic enhancement. Let’s explore how to balance correction and color for a fresh-faced finish.
How to Cover Imperfections Effectively
Concealer works best when applied sparingly. For dark circles, choose a peach-toned formula to neutralize blue undertones. Dab small dots under your eyes and blend outward with a damp sponge. This prevents creasing while maintaining coverage.
Blemishes? Match your concealer to your foundation shade. Pat—don’t rub—the product directly onto spots. As artist Zoe Martinez advises, “Let the pigment sit for 10 seconds before blending. This builds staying power.”
Enhancing Your Features with Color
Smile gently to find the apples of your cheeks. Swirl a fluffy brush in blush, tap off excess, and apply in circular motions. Cream formulas give a natural flush; powders add lasting vibrancy.
Highlighter lifts your bone structure. Sweep it along cheekbones, brow arches, and cupid’s bow using a fan brush. Stick to areas that catch light naturally. “Subtlety is key,” notes Martinez. “You want a glow, not glitter.”
Remember: start with minimal product. Build intensity gradually for a balanced look that celebrates your beauty without overwhelming it.
Makeup Tips for Beginners
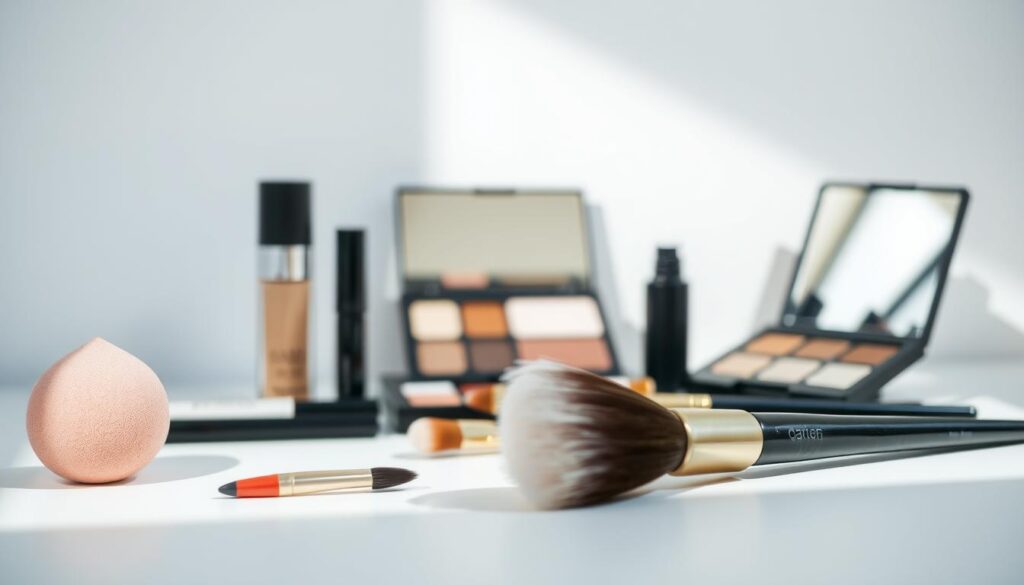
Less truly is more when building your first cosmetics collection. Focus on versatile items that adapt to multiple uses rather than specialized products gathering dust. A streamlined approach reduces decision fatigue while teaching core techniques.
Effortless Application Strategies
Swap complicated steps with multi-purpose solutions. A creamy lip and cheek tint adds color to eyelids and face in seconds. Use fingers for blending—they warm products for seamless integration. “Start with three hero items: tinted moisturizer, mascara, and balm,” suggests beauty educator Clara Ruiz.
Toolbox Essentials for Fresh Starts
Invest in these workhorses to elevate any routine:
| Tool | Purpose | Pro Tip |
|---|---|---|
| Angled brush | Brow definition & liner | Use leftover mascara as brow gel |
| Damp sponge | Blending foundation | Bounce motions prevent streaks |
| Spoolie | Combining lashes | Remove clumps before they dry |
| Compact mirror | On-the-go touch-ups | Check makeup in natural light |
Prioritize quick-drying formulas for daywear. Blotting papers absorb excess oil without disturbing your look. Remember: mastery comes through repetition, not perfection. Celebrate small wins—like nailing winged liner—and let curiosity guide your progress.
Step-by-Step Eye Makeup Techniques

Your eyes are the ultimate canvas for self-expression—but creating balanced looks requires smart techniques. Start with neutral tones to build confidence, then layer dimension. Here’s how to enhance your features without stress.
Mastering Eyeshadow Application
Begin with a matte base shade matching your lid color. Use a fluffy brush to sweep it across your entire mobile lid. Next, deepen the crease with a slightly darker hue using windshield-wiper motions. Blend edges until seamless—“Harsh lines disappear when you use circular buffing,” advises artist Tanya Mills.
For added depth, tap a shimmer shade onto the center of your lid with a fingertip. This catches light naturally. Always finish by running a clean blending brush along edges to soften transitions.
Tips for Mascara, Eyeliner, and Brows
Curling lashes first opens up your eyes. Apply mascara in zigzag motions from root to tip. Let each coat dry for 30 seconds before adding another. For liner, sketch small dots along your lash line first, then connect them—this prevents shaky lines.
Groom brows with a spoolie brush to distribute color evenly. Fill sparse areas using hair-like strokes. Remember: symmetry matters less than enhancing your natural shape.
| Tool | Use Case | Pro Result |
|---|---|---|
| Tapered brush | Precision blending | Smoky edges |
| Angled liner brush | Winged looks | Crisp definition |
| Dual-ended spoolie | Brow/lash separation | Clump-free finish |
Practice when you have extra time—like weekends. Experiment with one new product or technique weekly. Progress beats perfection every time.
Crafting Your Lip Look: Lipstick, Gloss & Liner
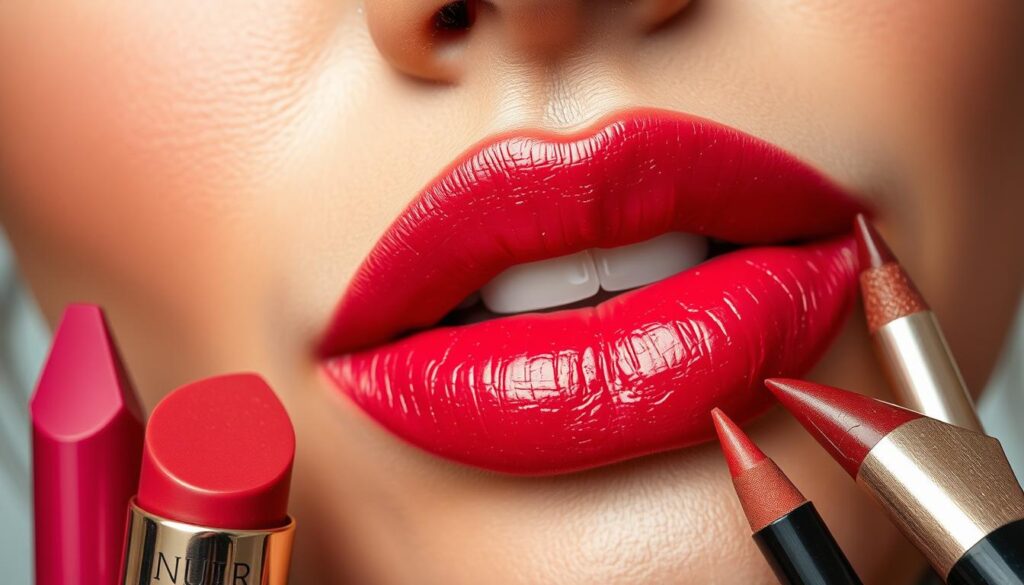
Your lips are the exclamation point of your look—a pop of color that pulls everything together. Whether you prefer barely-there sheen or bold pigment, mastering lip techniques elevates your beauty game effortlessly.
Finding Your Signature Shade Family
Skin undertones unlock your ideal color palette. Cool complexions glow with berry tones and mauves. Warm golden skin thrives in terracotta and coral shades. Neutral? Experiment with rose nudes that adapt to your natural flush. “Test colors on your fingertip—it’s closer to your lip tone than your hand,” suggests cosmetic chemist Dr. Amara Patel.
| Product | Best For | Pro Hack |
|---|---|---|
| Lipstick | Precision & longevity | Blot between layers for stain-like wear |
| Gloss | Volume & dimension | Apply to center only for 3D effect |
| Liner | Definition & shape | Match your natural lip edge, not the product |
Artistry Meets Practical Application
Start with exfoliated lips—gently buff with a damp cloth. Line slightly over your natural border if needed, using short strokes. Fill corners first, where color tends to fade. For lipstick, apply from the center outward. Blot with tissue, then dust translucent powder through a tissue for staying power.
Lip gloss adds instant youthfulness. Keep it contained by applying with a brush instead of the doe-foot applicator. Layer over lipstick for customized depth—sheer peach for day, molten bronze for evening.
Remember: There are no “wrong” colors—only ones you haven’t styled yet. Rotate between matte, satin, and glossy finishes to discover what makes your smile shine.
Establishing Your Daily Makeup Routine
Building a daily cosmetics ritual is like learning a favorite recipe—once you master the base, variations come naturally. Start with core steps that take 10 minutes or less. Cleanse, moisturize, and apply a tinted SPF for daytime protection. These essentials protect your face while creating a perfect canvas.
Adapting Your Approach
Your routine should flex with your schedule. For workdays, stick to neutral tones and long-wear formulas. Swap evening lipstick for a glossy lip balm during errands. Weekends? Experiment with shimmery eyeshadow or bold liner. “Consistency builds skill, but flexibility keeps it fun,” says beauty coach Rachel Nguyen.
Keep these essentials handy for quick adjustments:
- Blotting papers to combat midday shine
- A dual-ended brush for eyes and cheeks
- Mini mascara and lip color in your bag
Schedule your time wisely: allocate 5 minutes for base products and 3 minutes for features. Use a timer initially to avoid overdoing it. As confidence grows, steps become effortless.
Remember: changing your look doesn’t require new products. Dab highlighter on lids instead of cheeks for evening sparkle. Layer powder over cream blush for intensity. Small tweaks make familiar items feel fresh again.
Conclusion
Mastering cosmetics is like learning a language—start with the basics, then find your voice. From prepping skin with primer to locking in coverage with setting spray, each step builds confidence. Remember: a light dusting of translucent powder keeps shine at bay, while hydrating mists refresh your appearance midday.
Education transforms trial-and-error into artistry. Whether perfecting mascara application or choosing foundations, practice refines your way of enhancing natural features. Keep a versatile brush handy—it’s the Swiss Army knife of beauty tools.
Your journey evolves with every swipe of lipstick or blended eye shadow. There’s no “final look,” just endless creativity. Explore textures, adjust routines, and celebrate small victories. After all, true beauty shines when technique meets self-expression.
Now go forth—your canvas awaits. What product will you try next?
FAQ
How do I choose a primer for oily or dry skin?
What’s the best way to find my foundation shade?
How can I cover dark circles without looking cakey?
What are the must-have products for a simple makeup look?
How do I prevent mascara from smudging?
Which lip products work best for a natural daytime look?
How do I adjust my daily routine for special occasions?

Adam Peter is a finance, travel, and automotive writer with over a decade of experience. He creates clear, practical content to help readers manage their money, explore the world with confidence, and make informed decisions about cars and travel gear. His work blends expert insight with real-world usefulness.

