Editing Your Travel Photos Like a Pro
Did you know 78% of professional photographers spend more time perfecting their shots after shooting than they do behind the camera? While capturing a scene is important, the magic often happens long after you’ve packed your bags.
Today’s globetrotters face tricky hurdles. Harsh midday sun, crowded landmarks, and limited gear can turn dream shots into bland snapshots. But here’s the secret: every great travel image has two lives – one during capture, and another on the editing screen.
Modern tools let anyone fix common issues. Brighten shadows in a dim cathedral shot. Remove photo-bombers from that perfect beach scene. With smart adjustments, you’ll make viewers feel the breeze in a mountain vista or the energy of a bustling market.
Key Takeaways
- Post-production work separates average shots from jaw-dropping visual stories
- Overcome lighting and crowds through creative editing strategies
- Basic adjustments can dramatically enhance colors and mood
- Combine shooting skills with editing for unstoppable results
- Your edited images can spark wanderlust in friends and followers
This guide reveals pro techniques used by top photographers. You’ll learn to transform rushed vacation pics into gallery-worthy art that captures your adventures’ true spirit. Ready to make every image unforgettable?
Introduction to Editing Travel Photos
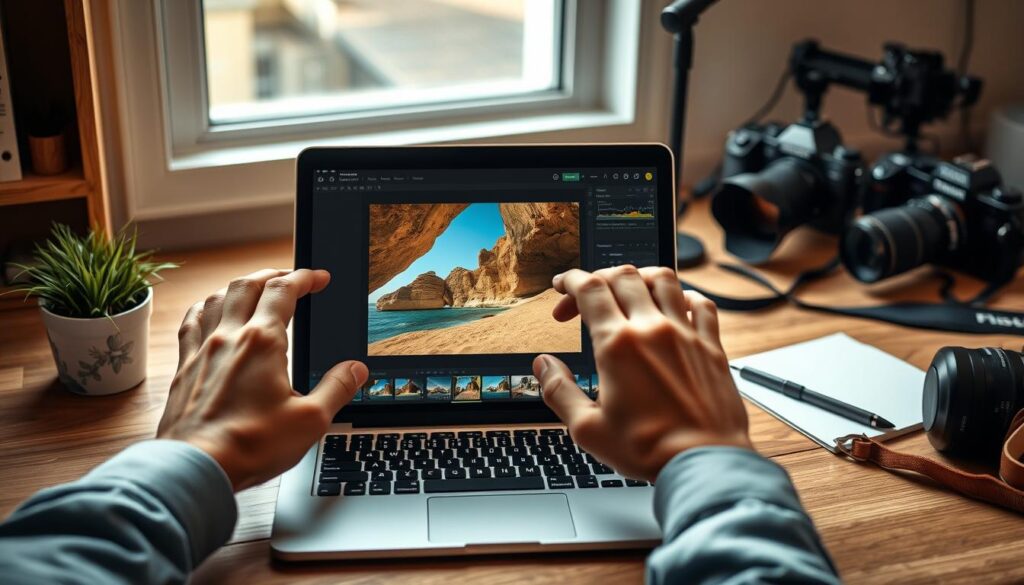
Ever wondered how ordinary vacation snapshots become stunning visual keepsakes? The answer lies in post-processing – your secret weapon for turning rushed captures into polished treasures. Whether you’re dealing with unexpected shadows or accidental photobombers, smart adjustments can revive even the most challenging shots.
Why Editing Transforms Your Memories
Think of editing as a time machine. It lets you revisit moments and amplify their emotional impact. Overcast skies from your beach day? Bring back the cyan waves. Lost details in a dimly lit temple? Restore intricate carvings with precision tools. Editing doesn’t alter reality – it reveals what your eyes truly saw.
| Challenge | Solution | Result |
|---|---|---|
| Harsh midday sun | Shadow recovery tools | Balanced lighting |
| Crowded landmarks | Object removal features | Clean compositions |
| Dull colors | Vibrance adjustments | Lifelike hues |
Overview of the Editing Process
Start with basic fixes like cropping and exposure correction. Next, tackle advanced enhancements – swap gloomy skies or intensify sunset oranges. Modern apps simplify complex tasks: AI-powered tools can automatically match colors across your entire photo collection for consistent storytelling.
Remember, great edits feel natural. Aim to preserve the authenticity of your adventures while elevating their visual appeal. With practice, you’ll spend less time tweaking and more time reliving your favorite journeys through vibrant, share-worthy images.
Pre-Production: Setting the Stage for Great Photos
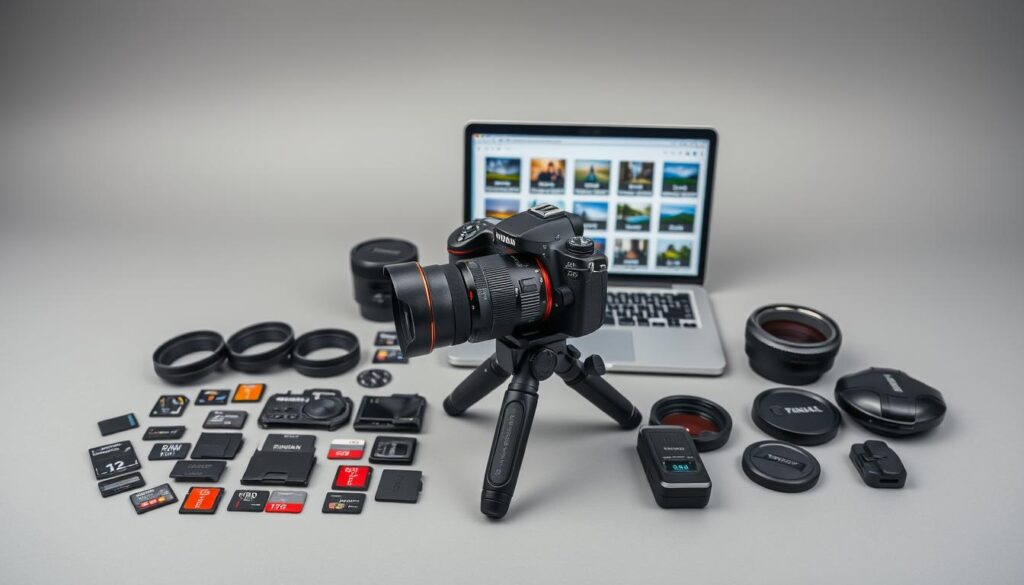
Great photos begin before you even press the shutter. Smart preparation lets you capture moments that need minimal fixes later. Packing decisions and camera settings shape your editing potential more than you might think.
Planning Your Shots and Gear
Stick with equipment you know inside out. That fancy new lens? Save it for home practice. Familiar gear means faster reactions when quick opportunities arise during your trip.
Research your locations beforehand. Know when golden hour hits that mountain vista or how crowds move through busy markets. This intel helps you anticipate shots rather than scramble for them.
“The best edits start with thoughtful preparation behind the lens.”
Understanding Camera Formats and Exposure
RAW vs. JPEG isn’t just tech talk – it’s creative freedom. While JPEGs work for quick snaps, RAW files store hidden details in bright skies and dark shadows. This gives you recovery power when adjusting exposure later.
| Feature | JPEG | RAW |
|---|---|---|
| File Size | Small | Large |
| Editing Flexibility | Limited | High |
| Dynamic Range | Compressed | Expanded |
| Storage Needs | Minimal | Substantial |
Pack extra memory cards – RAW files eat space fast. Expose for highlights when shooting, knowing you’ll brighten shadows during edits. This approach keeps skies from blowing out while preserving ground details.
Choosing the Best Editing Tools
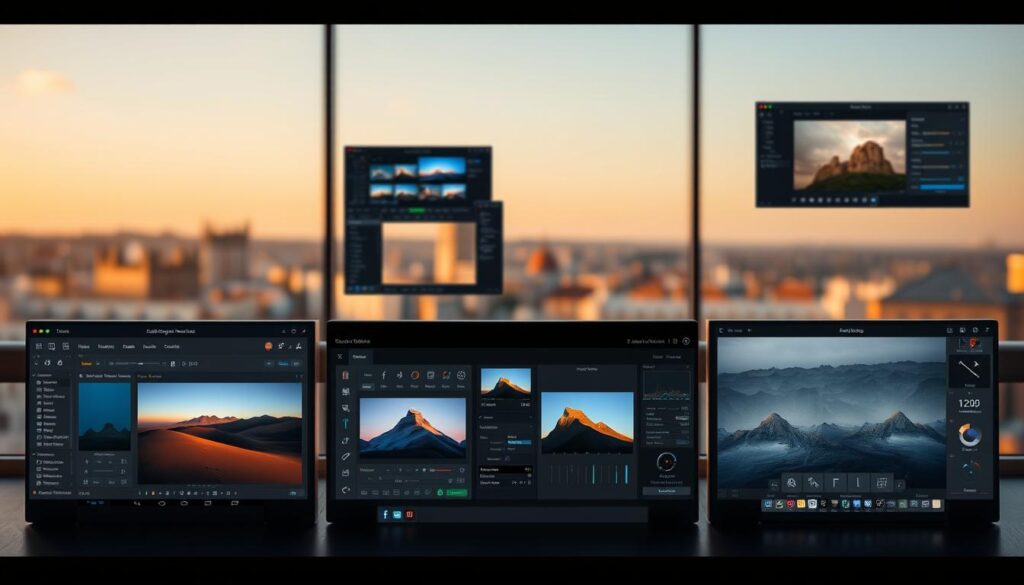
Your toolkit determines how your adventures come to life on screen. While dozens of apps promise magic fixes, smart travelers match software strengths to their creative goals. Let’s explore what makes certain programs stand out.
Mobile Masters vs Desktop Powerhouses
PhotoDirector shines for on-the-go tweaks. Its AI object removal works like a digital eraser for photobombers, while background replacement tools let you swap crowded streets for serene landscapes. The free version handles most quick fixes, making it ideal for Instagram-ready results between flights.
Lightroom dominates serious color work. Professionals love its precision sliders for recovering mountain shadows or enhancing sunset hues across 100+ shots simultaneously. Desktop users get granular control, while mobile sync keeps edits consistent across devices.
| Software | Best For | Learning Curve | Cost |
|---|---|---|---|
| PhotoDirector | Quick social edits | 15 minutes | Free/$35/year |
| Lightroom | Pro-grade batches | 2+ hours | $9.99/month |
| Snapseed | Basic adjustments | 10 minutes | Free |
Hybrid workflows win. Many shooters use PhotoDirector’s AI tricks during trips, then polish favorites in Lightroom later. Free trials help test compatibility with your style – some thrive with slider-heavy interfaces, others prefer one-tap solutions.
Remember: the best software feels like a creative partner, not a obstacle course. Choose tools that adapt to your journey’s pace while elevating your unique vision.
Basic Editing Techniques for Travel Photos
Small tweaks create big transformations in your vacation shots. Whether you’re fixing lighting mishaps or refining layouts, these foundational skills turn forgettable frames into eye-catching memories.
Adjusting Brightness, Contrast, and Composition
The exposure slider acts like sunlight control. Pull it right to reveal hidden details in dim museum shots. Drag left to recover blown-out skies at noon. Contrast adjustments add depth – they make cobblestone streets pop and mountain ridges appear sharper.
Temperature sliders change emotional tones. Cool blues work for icy fjords, while warm ambers enhance desert sunsets. Look for red-eye fixes and spot removal tools nearby – perfect for quick cleanups before sharing.
Simple Cropping and Straightening Methods
Crop tools let you reframe moments. Eliminate photobombers at the Eiffel Tower’s edge. Use gridlines to align waterfalls with the rule of thirds. Tilted horizons? The straighten tool fixes leaning lighthouses in seconds.
Always check composition balance. Ask: Does this crop highlight my main subject? Does the horizon feel stable? Minor adjustments often make the difference between “nice shot” and “where was this taken?” reactions.
“Great compositions feel intentional, not accidental.”
These techniques build confidence before tackling advanced edits. Master them, and you’ll consistently produce images that match your adventure’s excitement.
Editing Travel Photos
Ever snapped the perfect scene only to find strangers photobombing your frame? Modern solutions turn these frustrations into forgotten history. Powerful editing tools now handle what used to ruin great captures.
Clean Up Unwanted Elements
PhotoDirector’s object remover acts like a digital eraser. A few taps vanish photo crashers at famous landmarks or distracting signs in cityscapes. The magic lies in AI that reconstructs backgrounds realistically – no telltale smudges.
Privacy matters too. Easily blur faces in crowded markets or delete accidental bystanders. Your memories stay focused on what matters most.
Sharpen and Enhance Colors
Blurry shots from moving vehicles or low light? Deblur tools analyze patterns to recover details. They work best on slightly fuzzy images, bringing out textures in architecture or foliage that first appeared muddy.
Vibrance sliders boost muted tones without oversaturating. Enhance turquoise waters or autumn leaves while keeping skin tones natural. Pro tip: Adjust saturation selectively using masking tools for balanced results.
“Great edits disappear – viewers should feel the moment, not the software.”
Balance is key. Remove obvious distractions but keep authentic elements that tell your story. With practice, you’ll transform chaotic snaps into clean compositions that mirror your adventure’s best angles.
Advanced Techniques and Creative Enhancements

Long flights and hectic itineraries often leave travelers battling puffy eyes and tired smiles in their shots. Modern editing tools offer solutions that go beyond basic fixes, helping you present your best self while preserving authentic memories.
Revitalizing Faces with Precision Tools
PhotoDirector’s portrait features tackle travel fatigue head-on. The eye bag remover slider gently reduces under-eye shadows without erasing natural contours. For quick touch-ups, use the blemish tool to address breakouts caused by climate changes or missed skincare routines.
Subtlety is key. The facial reshaping slider lets you adjust jawlines or enhance cheekbones by millimeters – enough to boost confidence but keep results believable. “Your edits should whisper, not shout,” advises a professional retoucher we interviewed.
AI-Powered Artistic Transformations
Breathe new life into familiar scenes with 22 AI style filters. Transform bustling market images into vibrant anime-inspired art or give mountain vistas a painterly texture. These features work like digital art directors, applying complex effects through simple slider adjustments.
For creative control, use masking tools to apply styles selectively. Highlight a historic doorway with a sketched effect while keeping the surrounding street realistic. The clarity slider ensures critical details like architectural textures remain sharp, even in stylized images.
Balance remains crucial. While these tools empower dramatic changes, the best enhancements amplify your story without overshadowing it. With practice, you’ll develop an editing style that feels uniquely yours – tired eyes and all.
Editing Travel Photos with Lightroom: Tips & Tricks
Lightroom transforms raw captures into visual stories that demand attention. The software’s precision tools help refine every element, from vibrant market scenes to serene landscapes. Start by exploring the Develop module’s right-hand panel – your control center for professional-grade adjustments.
Targeted Adjustments for Richer Imagery
Four sliders in the Basics panel unlock hidden details. Drag Highlights left to recover cloud textures in overexposed skies. Boost Shadows to reveal hidden patterns in dim alleyways. Whites and Blacks sliders fine-tune contrast without affecting midtones, perfect for enhancing colors in busy street scenes.
Optimizing for Digital Platforms
When ready to share, the Export panel ensures social media readiness. Choose JPEG format with 90% quality for crisp results. Resize images to match platform requirements – 1080px width works universally. Enable sharpening for screens to make mountain ridges pop on mobile devices.
Lightroom’s selective tools let you emphasize what matters. A slight slider nudge here, a targeted color boost there – suddenly, your photo mirrors the adventure’s energy. With practice, these steps become second nature, letting your images shine brighter than any filter.
FAQ
What apps work best for enhancing vacation pictures?
How do I fix blurry or poorly lit shots from trips?
Are presets worth using for consistent social media feeds?
Should I shoot in RAW format for better editing flexibility?
How can I make crowds disappear from landmark photos?
What’s the fastest way to balance colors across a series?
Can I improve smartphone pictures to look professional?
How do I prepare images for Instagram without losing quality?
What’s one tool that instantly upgrades my editing workflow?
Are AI retouching tools reliable for portrait shots abroad?

Eduard Kingly is a travel and lifestyle content creator with a focus on personal development and education. He combines firsthand travel experiences with research-driven insights to guide readers in discovering new places, building better habits, and pursuing meaningful learning.

