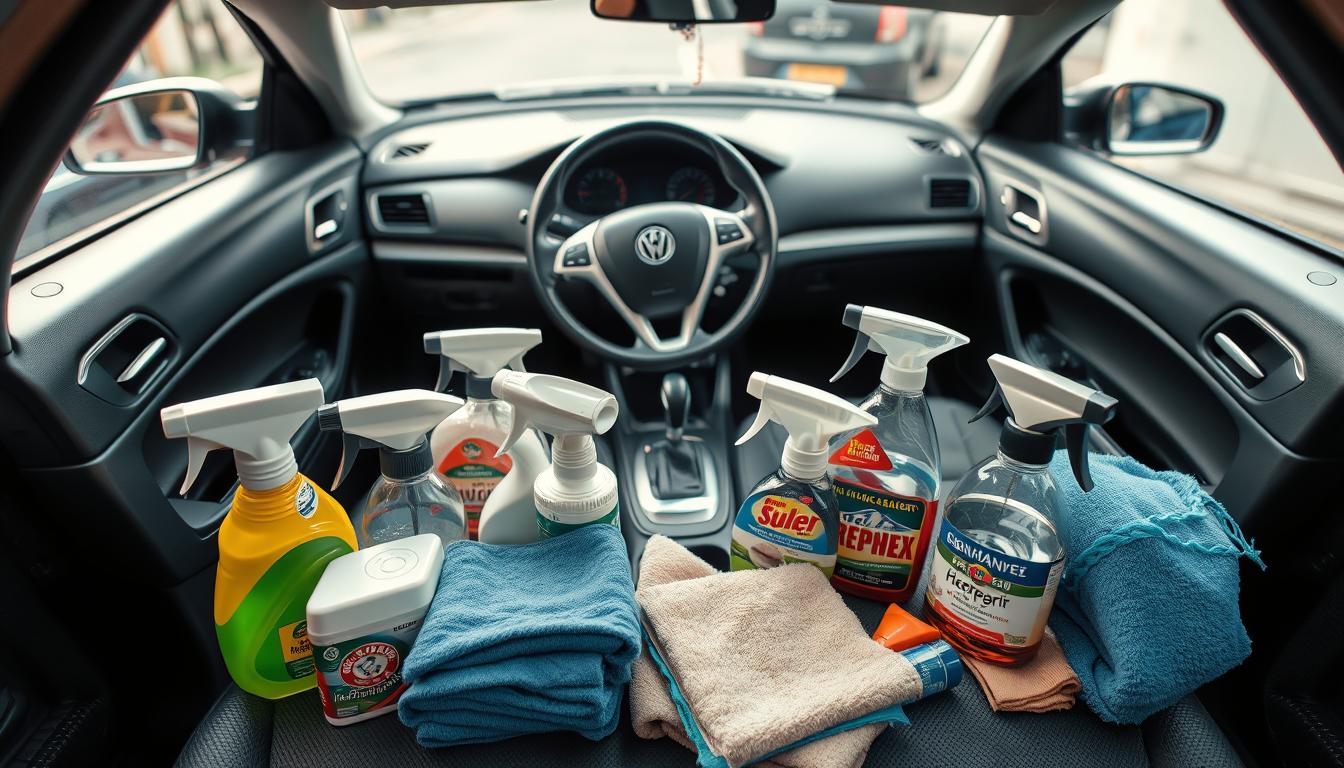
DIY Car Cleaning Hacks (Interior and Exterior)
Did you know 88% of vehicle owners admit they’ve accidentally damaged their paint or upholstery using improper cleaning methods? Keeping your ride spotless doesn’t require expensive tools or professional services. With smart strategies, you can maintain showroom-quality results at home.
This guide reveals practical solutions for both inside and outside maintenance. Whether you’re tackling stubborn stains on seats or reviving faded trim, these approaches prioritize safety and affordability. Best of all, most supplies likely sit in your cabinets already.
Regular care protects your investment and prevents long-term wear. We’ll walk through clever techniques for glass, wheels, carpets, and delicate surfaces. Each method balances effectiveness with simplicity – no specialized skills needed.
Key Takeaways
- Preserve your vehicle’s value through regular maintenance
- Use household items like vinegar and baking soda for tough stains
- Prevent swirl marks with proper washing techniques
- Refresh leather seats using natural conditioning methods
- Remove odors effectively without harsh chemicals
- Protect exterior surfaces from UV damage
From dashboard dust to road salt residue, we’ve organized solutions step-by-step. Discover how to make your ride look newer, longer – while keeping extra cash in your wallet.
Getting Started: Essential Tools & Preparations
Smart preparation separates frustrating cleanups from satisfying results. Before diving into your project, take 10 minutes to organize supplies and review safety measures. This simple step saves time and protects your vehicle’s delicate surfaces.
Gathering Your Cleaning Supplies
Start with two buckets – one for soapy water and another for rinsing. Choose a pH-neutral soap to avoid stripping wax or damaging rubber parts. Microfiber cloths work best for glass and dashboard surfaces, while soft brushes tackle vents and cup holders.
| Tool | Purpose | Recommendation |
|---|---|---|
| Bucket | Mixing solutions | Use separate containers for wheels/interior |
| Microfiber Cloth | Delicate surfaces | Color-code for different areas |
| Soft Bristle Brush | Textured materials | Test on hidden area first |
| pH-Neutral Soap | General cleaning | Avoid dish detergents |
Safety Tips and Preparations
Always wear gloves when handling cleaners, even home mixtures. Open windows or work in shaded areas to prevent chemical fumes from concentrating. As detailing expert Maria Torres advises:
“Treat your interior like fine furniture – gentle products prevent costly repairs.”
Check that all cloths are lint-free before wiping screens or gauges. Never mix ammonia and bleach-based products. Keep a dedicated towel for last-step polishing to avoid cross-contamination.
DIY Car Cleaning Hacks for Interior Detailing
Your ride’s cabin deserves the same attention as your living room. Regular care prevents permanent stains and keeps fabrics looking fresh. Let’s explore smart ways to refresh seating surfaces and eliminate hidden grime.
Revitalizing Fabric and Surfaces
Start by shaking out floor mats to remove loose debris. For stubborn dirt on seats, mix 1 cup baking soda with ¼ cup water to create a paste. Gently scrub stained areas using circular motions, then vacuum residue after 15 minutes.
| Surface Type | Best Solution | Tool |
|---|---|---|
| Cloth Seats | Baking soda + vinegar spray | Soft brush |
| Rubber Mats | Dish soap + warm water | Pressure nozzle |
| Leather Upholstery | Olive oil + lemon juice | Microfiber cloth |
Eliminating Hidden Particles
Use a portable vacuum with crevice tools to collect dust from seat tracks and cup holders. Wipe dashboard vents with a damp cloth wrapped around a butter knife. Automotive expert Jake Reynolds suggests:
“Always vacuum before wiping surfaces – this prevents muddy streaks from forming.”
Keep these three items in your glove compartment for quick touch-ups:
- Travel-sized vacuum for crumbs
- Lint roller for pet hair
- Spray bottle with 50/50 water-rubbing alcohol mix
Finish by wiping all surfaces with a dry microfiber cloth. This removes leftover moisture and creates streak-free results. Consistent weekly sessions maintain that fresh-from-the-dealership feel.
DIY Techniques for an Exterior Shine
Achieving a showroom-worthy exterior doesn’t require a trip to the pros. Start by mixing a gentle cleaning solution of pH-neutral soap and warm water. Work in shaded areas to prevent water spots, and tackle one panel at a time for consistent results.
Mastering Surface Care
Dampen microfiber cloths before wiping to trap dust effectively. Use separate cloths for wheels and body panels to avoid transferring brake dust. For textured surfaces like grilles, switch to soft brushes that lift grime without scratching.
| Tool | Purpose | Tip |
|---|---|---|
| Microfiber Mitt | Paint surfaces | Rinse after each panel |
| Detailing Brush | Emblems & crevices | Use light pressure |
| Wheel Cleaner | Brake dust removal | Spray evenly |
Wheel Maintenance Made Simple
Spray wheels with a dedicated cleaner while they’re cool to the touch. Let the solution sit for 3 minutes to break down road grime. Automotive specialist Lisa Nguyen recommends:
“Always start with the wheels – this prevents dirty water from drying on cleaned surfaces.”
Use a boar’s hair brush for intricate rim designs. Rinse thoroughly before moving to tires. Finish by wiping door jambs with a separate microfiber cloth to maintain that crisp edge.
- Work top-to-bottom to avoid dripping on clean areas
- Reapply spray solutions to stubborn spots
- Dry completely with waffle-weave towels
This systematic approach cuts washing time by 40% while delivering lasting shine. Your vehicle’s finish stays protected, and you avoid costly swirl mark repairs.
Quick Fixes for Dirty Windows and Windshields
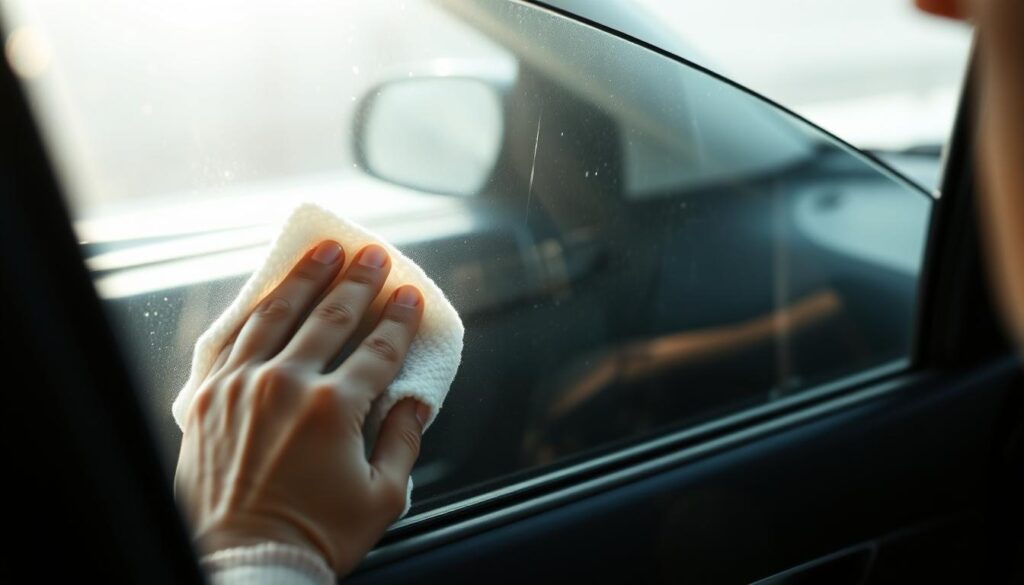
Crystal-clear windows transform your driving experience more than you might realize. Start by filling a spray bottle with equal parts white vinegar and distilled water. This acidic mixture cuts through grime without leaving streaks, while being gentle on tinted surfaces.
Spritz the solution generously across glass surfaces. Let it sit for 30 seconds to break down sticky residues. Crumpled newspaper works better than paper towels for wiping – its texture polishes glass to a shine. Always clean in vertical strokes on the inside and horizontal on the outside to identify which side needs touch-ups.
| Solution | Ratio | Best For |
|---|---|---|
| Vinegar Mix | 1:1 | General cleaning |
| Dish Soap Boost | 1 tsp per bottle | Oily films |
Spending five extra minutes per window ensures no spots compromise your visibility. Avoid overusing dish soap – even a small amount creates suds that require thorough rinsing. Automotive glass specialist Rachel Kim notes:
“Proper air flow speeds drying and prevents fogging. Crack windows slightly after treatment.”
Finish by wiping edges with a microfiber cloth to catch drips. Store leftover solution in a labeled bottle for quick touch-ups during gas stops. Clear sightlines aren’t just about looks – they’re your first line of safety on the road.
Smart Uses of Household Items: Vinegar, Dish Soap & More
Your kitchen holds secret weapons for maintaining a spotless vehicle. Common products like dish soap and baking soda tackle tough jobs without harsh chemicals. These solutions save money while extending the life of your surfaces through gentle care.
Window Wonder with Pantry Staples
Mix ½ cup white vinegar with 2 cups water in a spray bottle. Add 1 teaspoon dish soap for extra grease-cutting power. Spray onto glass surfaces and wipe with a damp sponge, then polish using crumpled newspaper for zero streaks.
| Solution | Ingredients | Best Uses |
|---|---|---|
| Degreaser | Dish soap + warm water | Wheels, engine bay |
| Odor Neutralizer | Baking soda + essential oils | Carpets, cup holders |
| Disinfectant | Vinegar + water (3:1) | Door handles, steering wheel |
Baking soda works overtime in your care routine. Sprinkle it on seats overnight to absorb stubborn smells, then vacuum thoroughly. For sticky residue, make a paste with water and let it sit 10 minutes before wiping.
Car care specialist Tyler Brooks advises:
“Test solutions on inconspicuous areas first. Household products work wonders, but compatibility varies by material.”
Keep these tips in mind for lasting results:
- Use separate sponges for interior and exterior tasks
- Rinse surfaces with clean water after soap applications
- Store mixed solutions in labeled spray bottles
Small adjustments create big impacts. A microfiber cloth dipped in vinegar-water mix revives dull trim, while dish soap diluted in warm water lifts grime from floor mats. Consistent care protects your vehicle’s value and keeps every ride feeling fresh.
Car Care for Busy Parents

Juggling family schedules shouldn’t mean sacrificing a tidy vehicle. With strategic organization, you can maintain order between school runs and soccer practices. These streamlined methods fit seamlessly into hectic routines while protecting your vehicle’s value.
Decluttering on the Go
Start with collapsible bins that clip onto seatbacks – perfect for snacks and toys. Designate specific areas for essentials:
- Glove compartment: Documents and sanitizer
- Center console: Chargers and reusable straws
- Door pockets: Wet wipes and emergency supplies
Quality floor mats catch 80% of crumbs and spills. Shake them out during gas stops – it takes 30 seconds but makes weekly cleanups easier. Parenting blogger Amanda Carter shares:
“Treat your vehicle like a second home. Zones prevent chaos and teach kids responsibility for their space.”
Fast, Time-Saving Routines
Keep a caddy with these three items in your trunk:
- Mini vacuum for quick crumb removal
- Disinfecting spray (mix equal parts water and vinegar)
- Lint roller for upholstery emergencies
Wipe high-touch areas like door handles daily during school pickup lines. This way, you tackle grime before it builds up. Rotate deep cleaning tasks – focus on the interior one week, exterior the next.
Consistency is key. Spend 5 minutes nightly removing trash and repositioning organizers. These small efforts become part of your routine, reducing weekend cleaning marathons. Your vehicle stays functional without becoming another chore.
Eco-Friendly Cleaning Solutions
Going green doesn’t mean compromising on cleanliness – here’s proof. Sustainable methods now rival traditional products in effectiveness while protecting both your vehicle and the environment. These approaches reduce chemical runoff and create safer spaces for kids and pets.
Steam Cleaning for a Natural Approach
High-temperature steam lifts dirt from seats and exterior surfaces without harsh detergents. This method sanitizes upholstery while using 90% less water than conventional washing. Environmental scientist Dr. Elena Martinez notes:
“Steam’s heat breaks down grease better than most chemicals, making it ideal for engines and wheel wells.”
| Method | Water Used | Cleaning Power |
|---|---|---|
| Steam Cleaning | 1-2 gallons | Deep sanitization |
| Traditional Wash | 40+ gallons | Surface-level clean |
Try these earth-conscious practices for your next wash:
- Mix baking soda with citrus peels for a fresh-smelling scrub
- Use old cotton shirts as reusable polishing cloths
- Opt for plant-based soaps in biodegradable packaging
Natural solutions protect your car’s finish and local waterways. Vinegar-water blends remove water spots from glass, while olive oil conditions rubber seals. These wallet-friendly alternatives often outperform store-bought products – no special equipment required.
Detailing Hard-to-Reach Areas
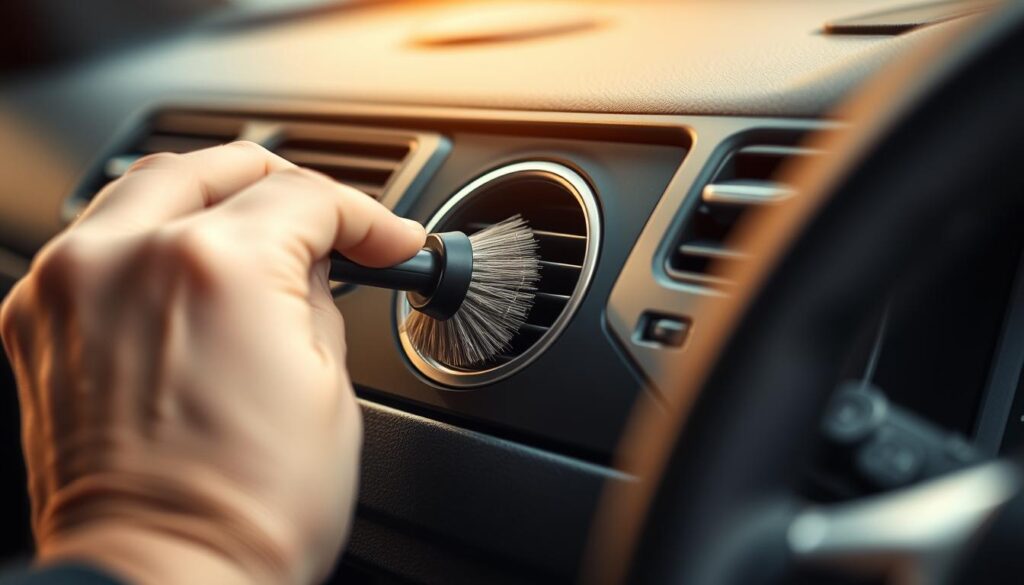
Those tricky nooks and crannies in your vehicle collect more than just loose change. Air vents, seat tracks, and console gaps trap dust particles that circulate through your cabin. Tackling these spots improves air quality and keeps surfaces looking fresh between deep cleans.
Accessing Crevices and Air Vents
Start by attaching a slim brush to your vacuum hose. Gently probe vents to lift dust without pushing it deeper. For stuck-on grime, wrap a microfiber cloth around a plastic card – it fits perfectly into tight spaces.
Try this three-step approach for stubborn buildup:
- Spray crevices with water-vinegar mix to loosen debris
- Blot with a damp sponge cut to wedge shapes
- Dry thoroughly using compressed air
| Tool | Best For | Pro Tip |
|---|---|---|
| Crevice brush | Vent slats | Rotate while brushing |
| Microfiber swab | Electronic ports | Dampen slightly |
| Foam sponge | Cupholders | Trim to fit |
Auto detailer Mark Simmons advises:
“Weekly five-minute sessions prevent 90% of visible buildup. Target one zone per cleaning session to stay motivated.”
Finish by wiping door seals with a dedicated cloth – this prevents future dirt accumulation. Regular attention to these hidden spots reduces allergens and keeps your interior smelling cleaner longer.
Polishing and Protecting Your Car’s Finish
A flawless finish isn’t just about looks—it’s your ride’s first defense against sun, dirt, and road debris. Proper maintenance preserves paint integrity while enhancing resale value. Let’s explore how to elevate your surface care routine using professional-grade techniques adapted for home use.
Understanding Polish Versus Wax
Polish and wax serve distinct roles in surface care. Polishing removes microscopic imperfections like oxidation and light scratches. Waxing then seals the surface with a protective barrier. Detailer Sarah Collins explains:
“Polish is your eraser—wax is the armor. Skipping either step leaves your finish vulnerable.”
| Product | Purpose | Frequency |
|---|---|---|
| Polish | Corrects imperfections | 1-2 times/year |
| Wax | Adds UV protection | Every 3 months |
Steps for a Mirror-Like Shine
Start with a freshly washed surface. Work in shaded areas to prevent product drying. Follow this sequence for best results:
- Apply polish using overlapping circular motions
- Buff with a clean microfiber cloth until haze forms
- Wipe residue with a separate lint-free towel
When working near the floor panels, kneel on a soft mat to avoid accidental scratches. Use quick-drying solutions to prevent drips on tires or wheels. Quality products make the difference—opt for pH-balanced formulas that won’t degrade existing protection.
Finish with a synthetic sealant for extended durability. This layered approach blocks contaminants while creating depth in your paint’s appearance. Consistent care keeps your surfaces looking showroom-fresh between professional treatments.
Cleaning Car Seats and Upholstery
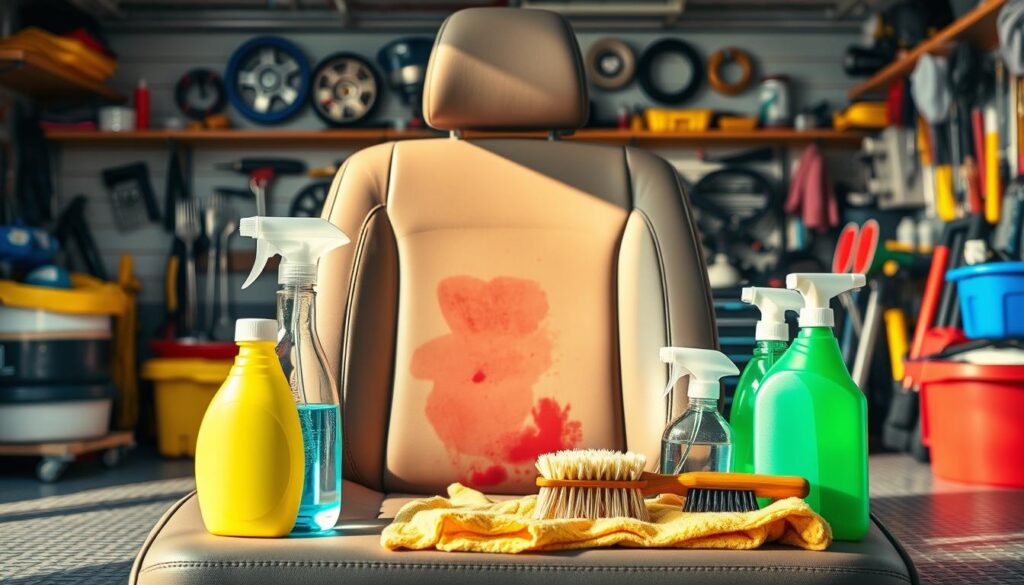
Spills and stains don’t stand a chance when you’ve got the right methods up your sleeve. Whether it’s coffee rings on fabric or mystery marks on leather, these simple solutions restore surfaces without harsh chemicals. Let’s tackle those trouble spots using items already in your pantry.
Stain Removal Techniques Using DIY Solutions
Start by blotting fresh spills immediately with a dry microfiber cloth – rubbing spreads the mess. For set-in stains, mix ¼ cup white vinegar with 1 cup water in a spray bottle. Lightly mist the area and let it sit for 5 minutes to break down grime.
| Stain Type | Solution | Application |
|---|---|---|
| Food/Grease | Baking soda paste | Scrub gently with soft brush |
| Ink | Rubbing alcohol | Dab with cotton swab |
| Mud | Cold water + dish soap | Blot from edges inward |
Upholstery expert Jenna Patel advises:
“Always test solutions on hidden seams first. Different fabrics react uniquely to cleaning agents.”
Work in small sections to prevent overwetting. After treating, rinse the area with a damp cloth and pat dry. For light-colored seats, sprinkle cornstarch overnight to absorb lingering odors before vacuuming.
Three essential tips for lasting results:
- Use circular motions when scrubbing to lift dirt from fabric fibers
- Blot – don’t rub – delicate materials like suede or Alcantara
- Finish with a clean, dry towel to prevent water rings
Regular maintenance keeps seats looking newer longer. Spot-clean weekly and deep-clean every season. You’ll notice brighter colors and smoother textures – proof these methods work without professional-grade products.
Effective Tire and Wheel Cleaning
Your vehicle’s wheels work hard—return the favor with proper care. Brake dust and road salt cling to rims, accelerating wear if ignored. Start by filling two buckets—one with warm water and mild soap, another for rinsing. This dual-bucket system prevents grime transfer during scrubbing.
Specialized tools make the job efficient. Use soft-bristle brushes for alloy wheels and stiff ones for tires. Automotive technician Dean Walters recommends:
“Dedicated wheel brushes last longer than kitchen tools. They’re designed to handle harsh contaminants without damaging surfaces.”
| Solution | Tools | Frequency |
|---|---|---|
| Soap + water | Wheel woolie | Weekly |
| Vinegar mix | Detailing brush | Monthly |
| Commercial cleaner | Pressure nozzle | Seasonal |
Work in shaded areas to avoid quick drying. Spray wheels first to loosen debris, then scrub from top to bottom. Rinse thoroughly before moving to tires. Always dry with microfiber cloths to prevent water spots.
Three rules for lasting results:
- Clean wheels before washing other exterior parts
- Use pH-balanced products to protect coatings
- Store tools separately to avoid cross-contamination
This approach takes 15 minutes but adds months to your wheel finish. Regular care prevents costly replacements and keeps your ride looking sharp on every drive.
Maintaining a Clean Dashboard and Controls
Your dashboard does more than display information—it’s the command center of your vehicle. Dust buildup can interfere with touchscreens and dials, while fingerprints create distracting glare. Follow these strategies to preserve both aesthetics and functionality.
Dusting Techniques and Fresh Scents
Start with a dry microfiber cloth for daily wipe-downs. For textured surfaces, use a soft makeup brush to dislodge particles from crevices. Auto interior specialist Liam Carter advises:
“Weekly dusting prevents permanent etching from abrasive particles. Think of it as skincare for your vehicle’s surfaces.”
| Tool | Use Case | Frequency |
|---|---|---|
| Swiffer duster | Quick touch-ups | Daily |
| Compressed air | Vent slats | Monthly |
| Microfiber mitt | Glossy panels | Weekly |
Create natural air fresheners using these ingredients:
- Small muslin bag filled with baking soda + 5 drops peppermint oil
- Orange peels tucked under seats (replace every 3 days)
- Coffee beans in a perforated container for odor absorption
For sticky buttons, dip a cotton swab in rubbing alcohol. Wipe gently around edges without soaking electronics. Finish by applying UV protectant spray to prevent dashboard cracking—especially crucial in sunny climates.
Three maintenance essentials:
- Keep wipes in door pockets for immediate spills
- Use screen-safe cleaner for navigation displays
- Rotate cleaning tools monthly to prevent germ buildup
Preventative Measures for Long-Term Car Care
Sunlight and road debris don’t care about your vehicle’s age—but you should. Simple protective strategies shield surfaces from daily wear while maintaining resale value. Let’s explore how smart choices today prevent costly repairs tomorrow.
Shielding Surfaces From Elements
Quality covers block UV rays and bird droppings when parked outdoors. For daily drivers, spray-on sealants create invisible barriers against salt and pollution. Auto protection specialist Greg Wallace notes:
“Layered defense systems work best. Combine physical barriers with chemical protection for maximum durability.”
| Protectant Type | Key Benefit | Lifespan |
|---|---|---|
| Car Covers | Physical scratch prevention | 3-5 years |
| Paint Sealants | Chemical resistance | 6-12 months |
| Protective Films | Impact protection | 5-7 years |
Apply sealants in shaded areas using microfiber applicators. Work panel by panel, buffing immediately after application. For films, professional installation ensures bubble-free results, though DIY kits exist for small areas.
Three essential maintenance habits:
- Wash surfaces before applying any protectant
- Reapply spray sealants every 6 months
- Inspect covers monthly for tears
These methods reduce oxidation by 70% compared to untreated surfaces. Your vehicle stays looking newer longer, saving hundreds in cosmetic repairs over time. Start with high-impact areas like hoods and door handles – consistency pays off.
Incorporating Professional Touches at Home

Even the most dedicated home care routine sometimes needs expert reinforcement. Mobile detailing services fill this gap, offering specialized treatments that elevate your vehicle’s appearance beyond typical maintenance. Knowing when to call professionals saves time and prevents accidental damage to sensitive components.
When Expertise Makes Sense
Deep-set stains from spilled drinks or pet accidents often require industrial-grade equipment. If scrubbing spreads the mess instead of removing it, specialists use heated extractors that lift grime from fabric fibers. Restoration work on faded paint or cracked leather also warrants professional attention.
Consider these signs it’s time to call experts:
- Persistent odors linger after multiple cleaning attempts
- Water spots etch into glass despite vinegar treatments
- Scratches expose bare metal or primer layers
| Scenario | DIY Approach | Pro Solution |
|---|---|---|
| Minor seat stains | Baking soda paste | Steam extraction |
| Oxidized headlights | Toothpaste polish | UV-resistant coating |
Detailer Alicia Chang notes:
“Mobile services bring salon-quality care to your driveway. They handle messy jobs so you don’t track water or chemicals indoors.”
Maintain results between pro visits by wiping surfaces weekly and addressing spills immediately. Schedule deep cleans every 6-12 months based on usage. This partnership keeps your ride looking sharp while letting you handle day-to-day upkeep confidently.
Budget-Friendly Car Cleaning Products and Hacks
What if you could achieve dealership-level results for less than $5? Common household items outperform many store-bought cleaners while being gentler on surfaces. A baking soda and water mixture removes odors from floor mats, while white vinegar cuts through grime on windows.
Try these three wallet-friendly solutions:
- Scrub cup holders with toothpaste using an old toothbrush
- Soak mats overnight in dish soap solution
- Mix 1 tbsp cornstarch with ¼ cup water for headlight restoration
| Solution | Cost | Commercial Equivalent |
|---|---|---|
| Baking soda paste | $0.25 | $12 stain remover |
| Vinegar spray | $0.50 | $8 glass cleaner |
| Olive oil conditioner | $1.00 | $15 leather treatment |
Detailer Ryan Carter shares:
“Homemade solutions often work better than pricier options. I’ve seen baking soda remove decade-old coffee stains that specialty products couldn’t touch.”
Reuse empty spray bottles for custom mixes – label them clearly. For stubborn messes, let solutions sit 10 minutes before scrubbing. This gives ingredients time to break down grease without harsh rubbing.
Regular upkeep with these methods keeps your ride looking sharp. Wipe surfaces weekly and tackle spills immediately. You’ll save hundreds annually while maintaining that fresh-from-the-wash feel.
Conclusion
A well-maintained vehicle speaks volumes about its owner while protecting your investment. Through this guide, you’ve discovered how simple ingredients like vinegar restore sparkle to windows and why microfiber cloths outperform paper towels. Regular care prevents costly repairs – whether refreshing seats or shielding your exterior from harsh elements.
Consistency matters most. Spend five minutes weekly wiping surfaces with a damp cloth and addressing spills immediately. For deeper cleans, rotate between interior refreshes and exterior treatments. Busy schedules? Keep a spray bottle of water and vinegar in your trunk for quick touch-ups between errands.
These tips prove you don’t need expensive products for showroom results. Share your favorite methods below – your experience helps others maintain their rides smarter. Remember: small efforts today keep your vehicle looking newer tomorrow. Now grab those supplies and enjoy the pride of cruising in a spotless machine!
FAQ
What’s a safe homemade solution for cleaning glass surfaces?
How do I remove stubborn stains from fabric seats?
Can I use household items to clean wheels and rims?
What’s the best way to prevent dust on the dashboard?
Are eco-friendly methods effective for tackling odors?
How often should I clean air vents to maintain air quality?
What’s a quick fix for sticky steering wheels or controls?
Can I polish my vehicle’s exterior without professional products?
How do I protect my vehicle’s interior between deep cleans?
What’s the safest way to clean leather seats at home?

Adam Peter is a finance, travel, and automotive writer with over a decade of experience. He creates clear, practical content to help readers manage their money, explore the world with confidence, and make informed decisions about cars and travel gear. His work blends expert insight with real-world usefulness.

