DIY Sensory Bins for Preschoolers: Creative & Affordable Learning Activities
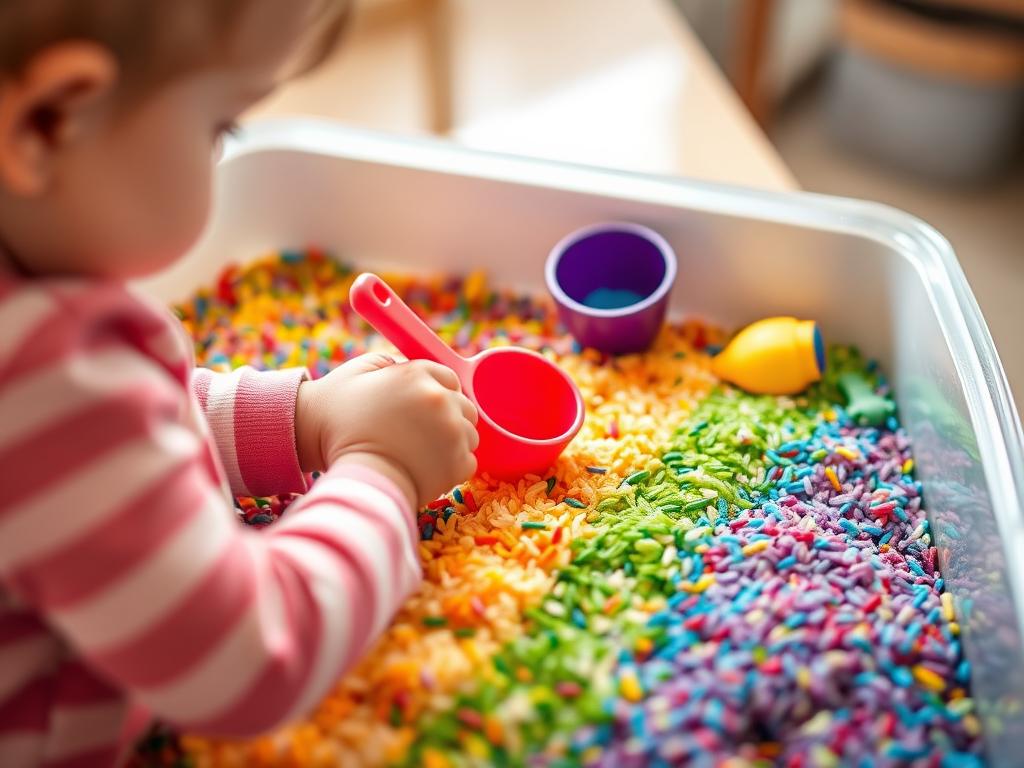
Watching your preschooler explore different textures, colors, and materials through sensory play is one of parenting’s simple joys. DIY sensory bins offer an affordable way to create these enriching experiences at home. These simple containers filled with carefully selected materials stimulate your child’s senses while supporting crucial developmental skills – all while keeping little hands happily busy!
As a parent who’s created countless sensory bins for my own curious preschoolers, I’ve learned which combinations work best and how to set up these activities with minimal mess and maximum engagement. In this guide, I’ll share everything you need to know about creating your own DIY sensory bins that will captivate your child’s imagination and support their development.
What Are Sensory Bins and Why They Matter
Sensory bins are containers filled with materials and objects specifically chosen to stimulate your child’s senses. Typically composed of a base material like rice, beans, or water, these bins invite exploration through touch, sight, sound, and sometimes even smell. The beauty of DIY sensory bins is that they can be customized to your child’s interests and developmental needs using simple, affordable materials you likely already have at home.
For preschoolers especially, sensory bins provide a safe space to explore different textures and materials. This type of play helps children who might be hesitant about certain sensations gradually become more comfortable through positive experiences. Even children without sensory concerns benefit tremendously from this type of hands-on learning.
As occupational therapists often explain, children learn about their world primarily through sensory exploration. When they can touch, move, and manipulate materials freely, they’re building neural connections that support cognitive development and learning readiness.
Benefits of Sensory Play for Preschoolers
Sensory bins offer far more than just entertainment. They’re powerful tools for developing crucial skills that will benefit your child throughout their life. Here’s how regular sensory play supports your preschooler’s development:
Physical Development
- Fine motor skills: Scooping, pouring, and manipulating small objects strengthens the small muscles in your child’s hands, preparing them for writing and other precise movements.
- Hand-eye coordination: Activities like transferring materials between containers help develop coordination between what your child sees and how they move their hands.
- Sensory processing: Regular exposure to different textures helps children become more comfortable with various sensory inputs.
Cognitive Development
- Problem-solving: Figuring out how to find hidden objects or how different materials behave builds critical thinking skills.
- Cause and effect: Children learn what happens when they pour, mix, or manipulate materials.
- Early math concepts: Measuring, counting, and sorting activities naturally incorporate mathematical thinking.
Language and Social Development
- Vocabulary building: Sensory play introduces new descriptive words like “smooth,” “rough,” “squishy,” or “grainy.”
- Communication skills: Children naturally want to share their discoveries, encouraging language use.
- Cooperation: When playing alongside others, children learn to share space and materials.
Emotional Development
- Stress reduction: The repetitive, tactile nature of sensory play has a calming effect on many children.
- Confidence building: Mastering new sensory experiences builds self-assurance.
- Self-regulation: Children learn to adjust their actions based on how materials respond.
How to Make a DIY Sensory Bin: Step-by-Step Guide
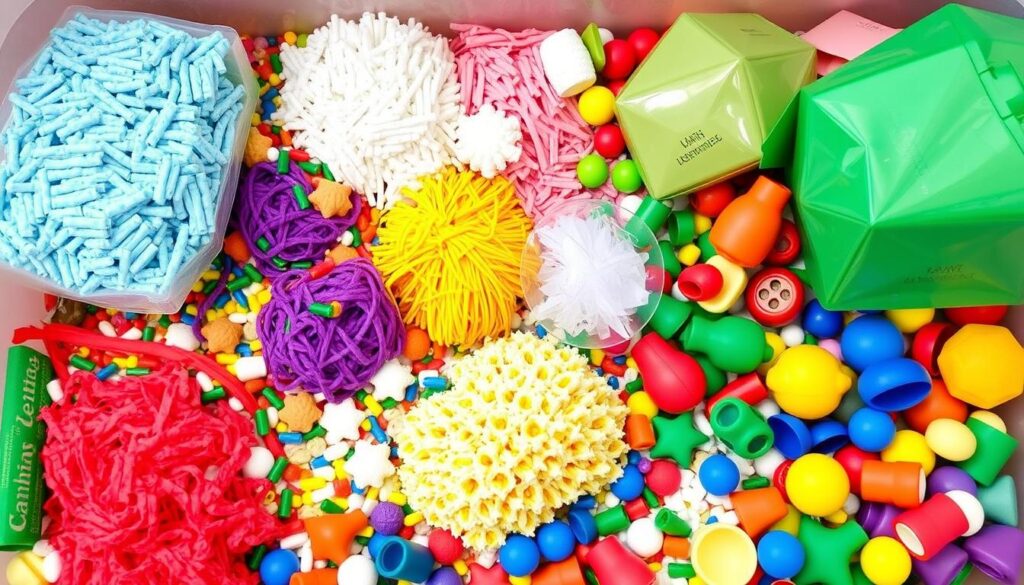
Creating your first DIY sensory bin doesn’t have to be complicated. With a few basic supplies and these simple steps, you’ll have an engaging activity ready for your preschooler in no time.
Basic Supplies You’ll Need
- Container: A shallow plastic bin with a lid works best. Dollar stores often have perfect options.
- Base material: Rice, dried beans, pasta, or sand are popular choices for beginners.
- Tools: Scoops, cups, funnels, tongs, or spoons for manipulating materials.
- Toys and objects: Small figurines, plastic letters, or themed items to hide and discover.
Step-by-Step Instructions
- Choose your container. Look for something with enough space for little hands to dig and explore, but not so large that you’ll need excessive amounts of filler material.
- Select a base material. For your first bin, consider rice or dried beans as they’re affordable and easy to work with.
- Prepare your base material. For colored rice, place rice in a ziplock bag with a few drops of food coloring and 1 tablespoon of vinegar. Seal and shake until color is distributed, then spread on a baking sheet to dry.
- Fill your container. Pour in your base material, filling about halfway to allow room for movement.
- Add tools and toys. Include items that encourage scooping, pouring, searching, and imaginative play.
- Set up your play space. Place the bin on a tablecloth or sheet for easier cleanup.
- Introduce the bin to your child. Demonstrate some ways to play, then step back and let their creativity take over!
Safety Tips for Sensory Bins
- Always supervise young children during sensory play, especially with small objects.
- Choose materials appropriate for your child’s age and development. Avoid choking hazards for children who still mouth objects.
- Use food-safe materials for children who might taste the sensory materials.
- Consider allergies when selecting materials (some children may be allergic to wheat, beans, etc.).
- Store sensory bins out of reach when not in use to prevent unsupervised play.
10 Creative DIY Sensory Bin Ideas for Preschoolers
Ready to create your first sensory bin? Here are ten engaging themes that preschoolers love, using simple materials you can easily find at home or at dollar stores.
1. Rainbow Rice Sensory Bin
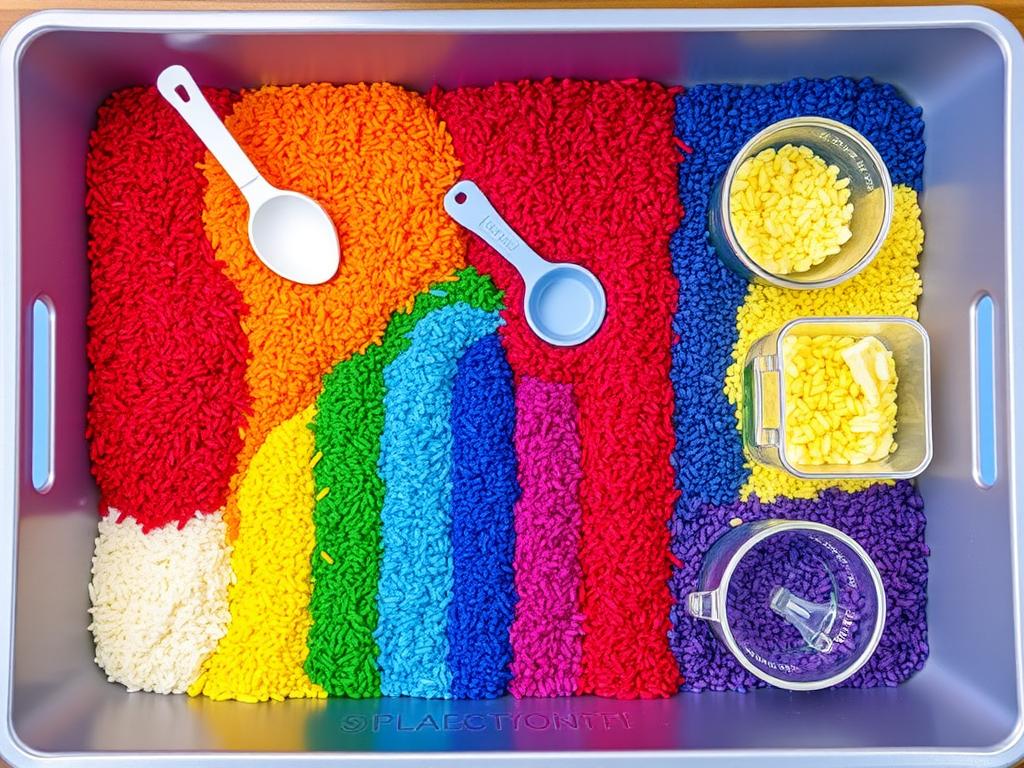
Colored rice creates a visually stunning bin that’s perfect for scooping and pouring activities. To make rainbow rice, divide white rice into separate ziplock bags, add a few drops of food coloring and a tablespoon of vinegar to each, then shake until evenly colored. Spread on baking sheets to dry completely before use.
Materials needed: White rice, food coloring, vinegar, ziplock bags, scoops, containers for pouring
Skills developed: Color recognition, fine motor skills, creative play
2. Farm Adventure Sensory Bin
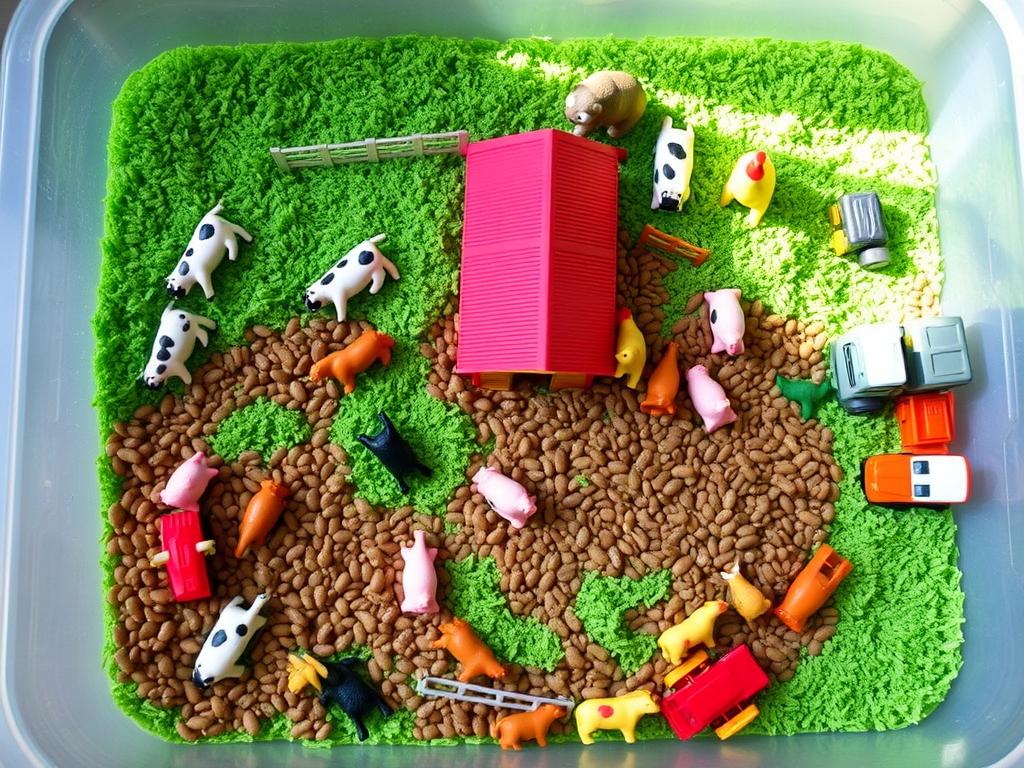
Create a miniature farm world with green-dyed rice “grass,” toy farm animals, fences, and tractors. This bin encourages imaginative play while introducing farm vocabulary and concepts.
Materials needed: Rice dyed green, small farm animal figurines, toy fences, small barn (optional), tractors or farm vehicles
Skills developed: Imaginative play, vocabulary building, storytelling
3. Ocean Exploration Sensory Bin
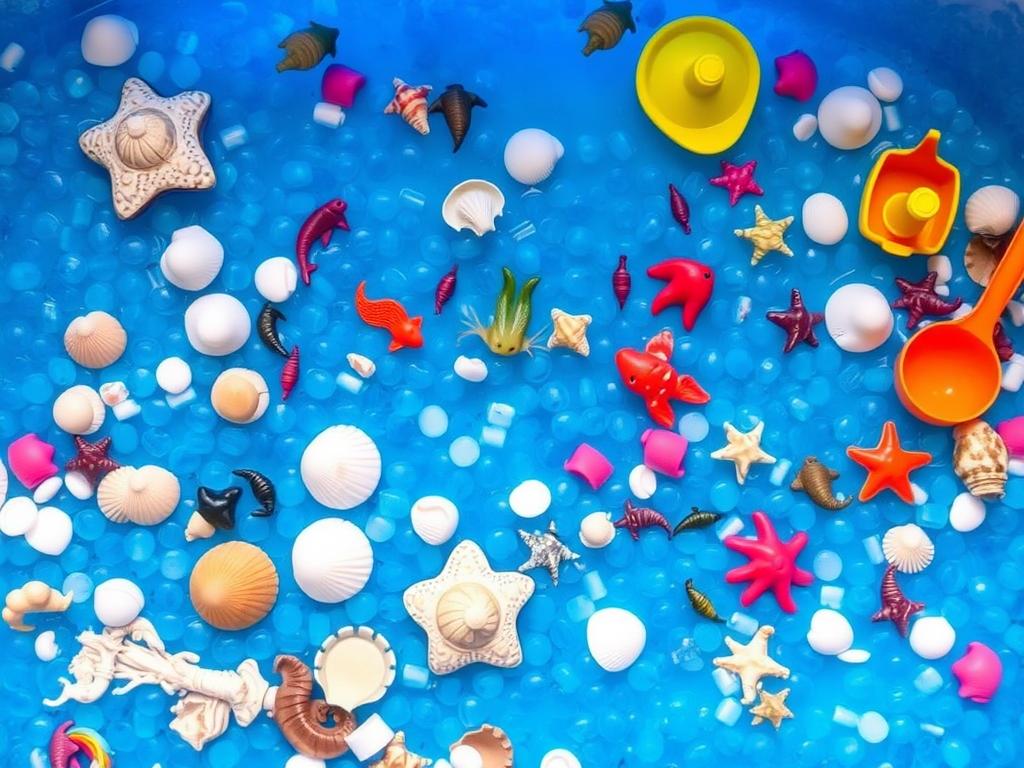
Blue water beads create a fascinating ocean-like texture that children love to run their fingers through. Add shells, toy sea creatures, and small boats for an underwater adventure.
Materials needed: Blue water beads (soaked according to package directions), seashells, plastic sea creatures, toy boats, blue glass gems (optional)
Skills developed: Sensory exploration, marine life vocabulary, imaginative play
4. Construction Zone Sensory Bin
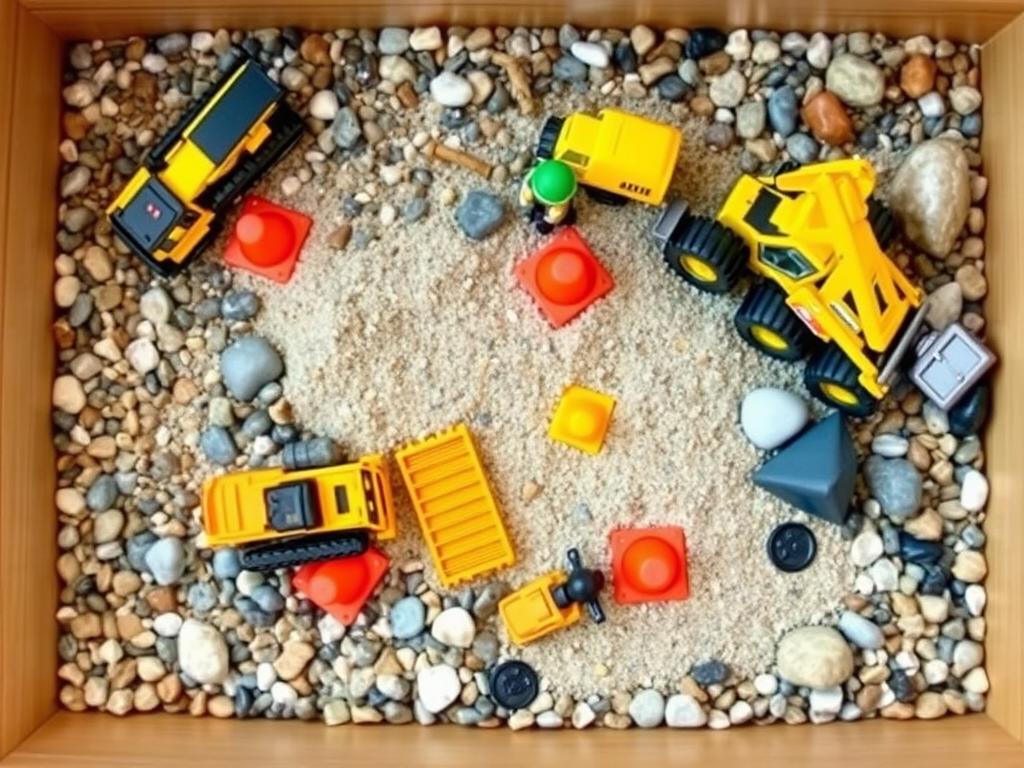
Perfect for vehicle-loving preschoolers, this bin combines different textures of stones and pebbles with construction vehicles for hours of building and digging fun.
Materials needed: Small pebbles, larger decorative stones, toy construction vehicles, small construction figures, miniature construction cones or barriers
Skills developed: Cause and effect understanding, fine motor skills, construction vocabulary
5. Alphabet Hunt Sensory Bin
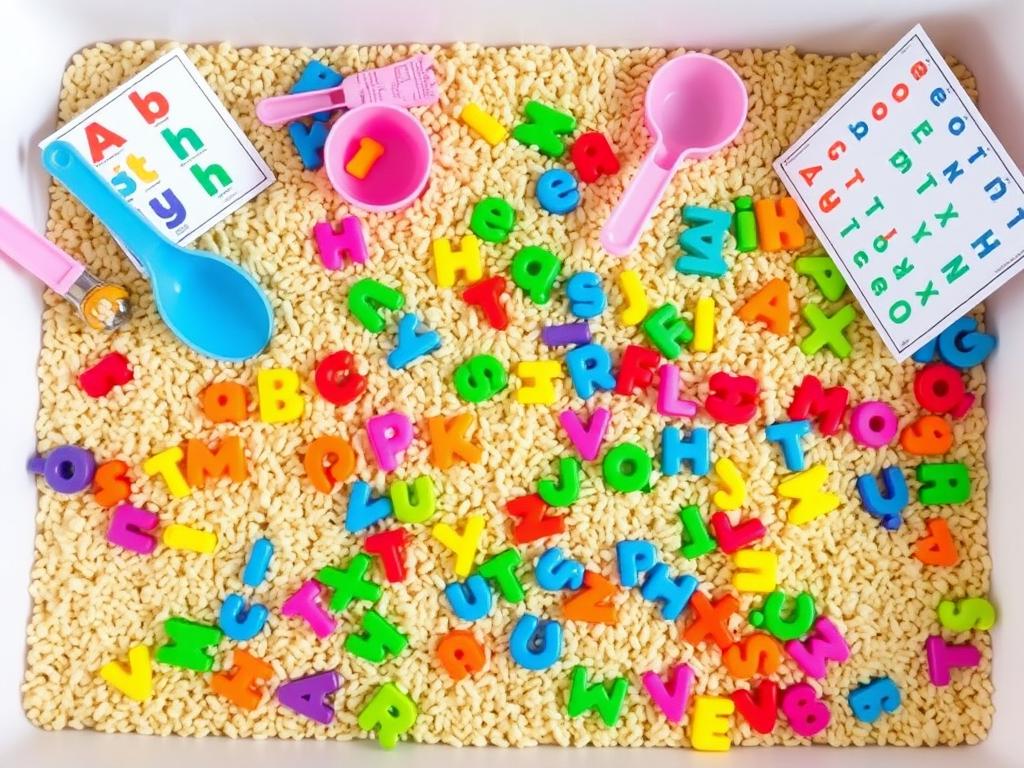
Hide plastic or foam letters in a bin of rice or beans for a literacy-boosting treasure hunt. Ask your child to find specific letters or spell simple words with their discoveries.
Materials needed: Rice or beans, plastic or foam letters, small containers for sorting, letter cards or simple word cards for older preschoolers
Skills developed: Letter recognition, early literacy skills, fine motor development
6. Dinosaur Excavation Sensory Bin
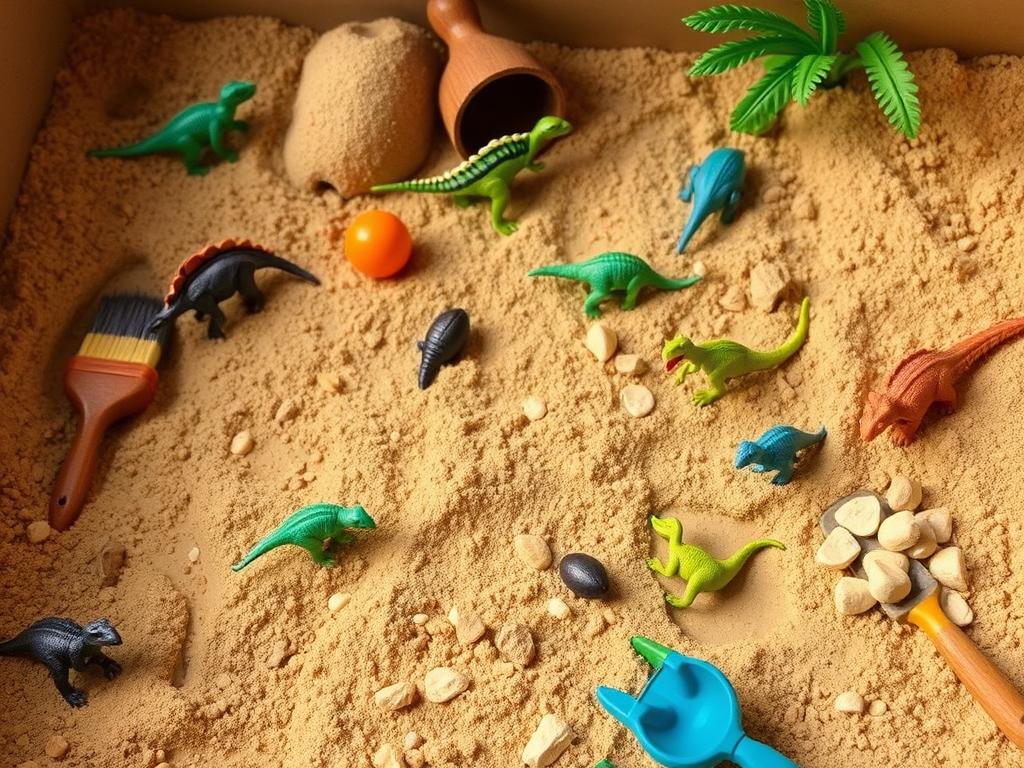
Transform your preschooler into a paleontologist with this dinosaur dig bin. Bury toy dinosaurs or dinosaur eggs in sand or kinetic sand and provide brushes and tools for careful excavation.
Materials needed: Play sand or kinetic sand, toy dinosaurs, small dinosaur eggs or fossils, child-safe excavation tools (small brushes, plastic shovels)
Skills developed: Scientific exploration, patience, fine motor control
7. Shaving Cream Sensory Bin
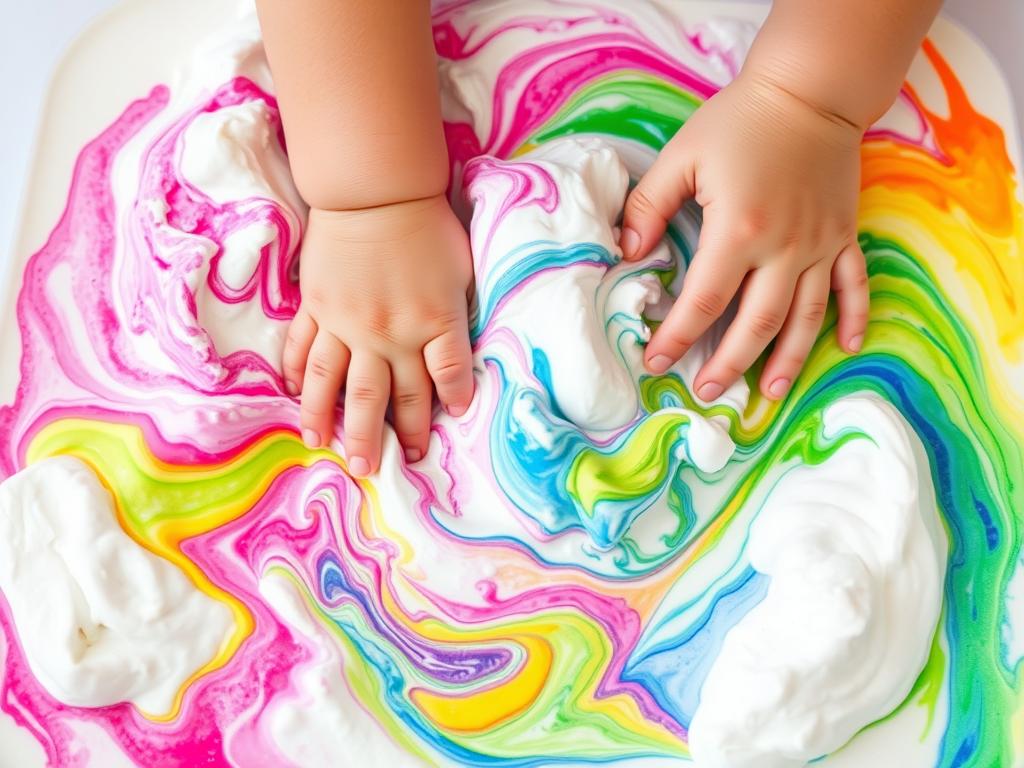
For a wonderfully tactile experience, fill a bin with shaving cream and add a few drops of food coloring. Children can swirl the colors, practice writing letters, or just enjoy the unique texture.
Materials needed: Shaving cream (unscented), food coloring, waterproof tablecloth for easy cleanup
Skills developed: Sensory processing, color mixing concepts, pre-writing skills
8. Nature Exploration Sensory Bin
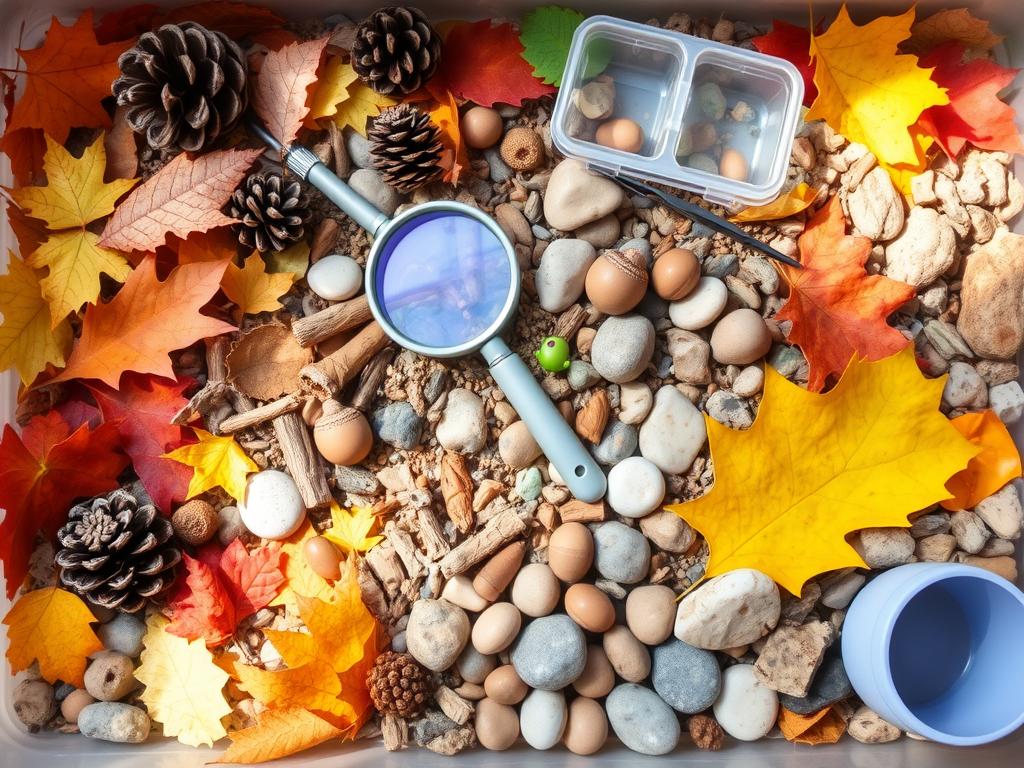
Bring the outdoors in with a collection of natural materials like leaves, pinecones, acorns, and smooth stones. Add magnifying glasses for closer examination and containers for sorting.
Materials needed: Various natural materials (leaves, pinecones, acorns, smooth stones, tree bark pieces), magnifying glass, tweezers, sorting containers
Skills developed: Nature appreciation, classification skills, scientific observation
9. Cloud Dough Sensory Bin
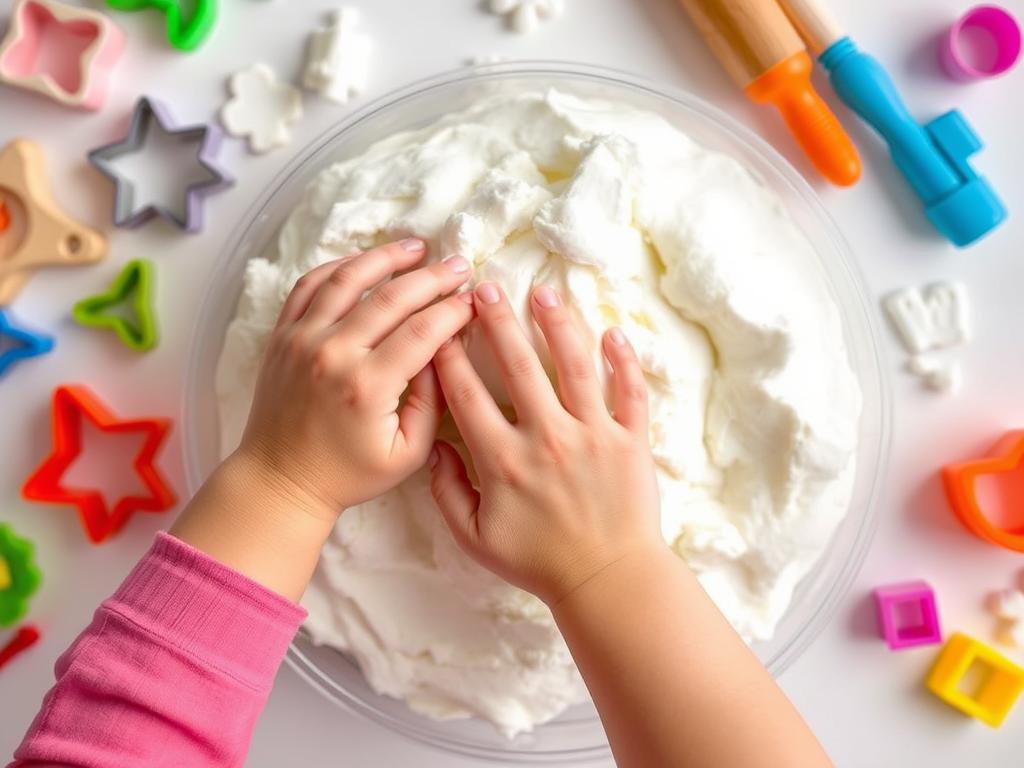
Cloud dough has a uniquely moldable texture that’s both powdery and compactible. Mix 8 cups of flour with 1 cup of oil (baby oil or vegetable oil) for a sensory material that can be shaped, molded, and crumbled.
Materials needed: All-purpose flour, oil (baby oil for scent or vegetable oil for taste-safe version), cookie cutters, small rolling pins, plastic molds
Skills developed: Tactile exploration, creativity, fine motor strength
10. Seasonal Holiday Sensory Bin
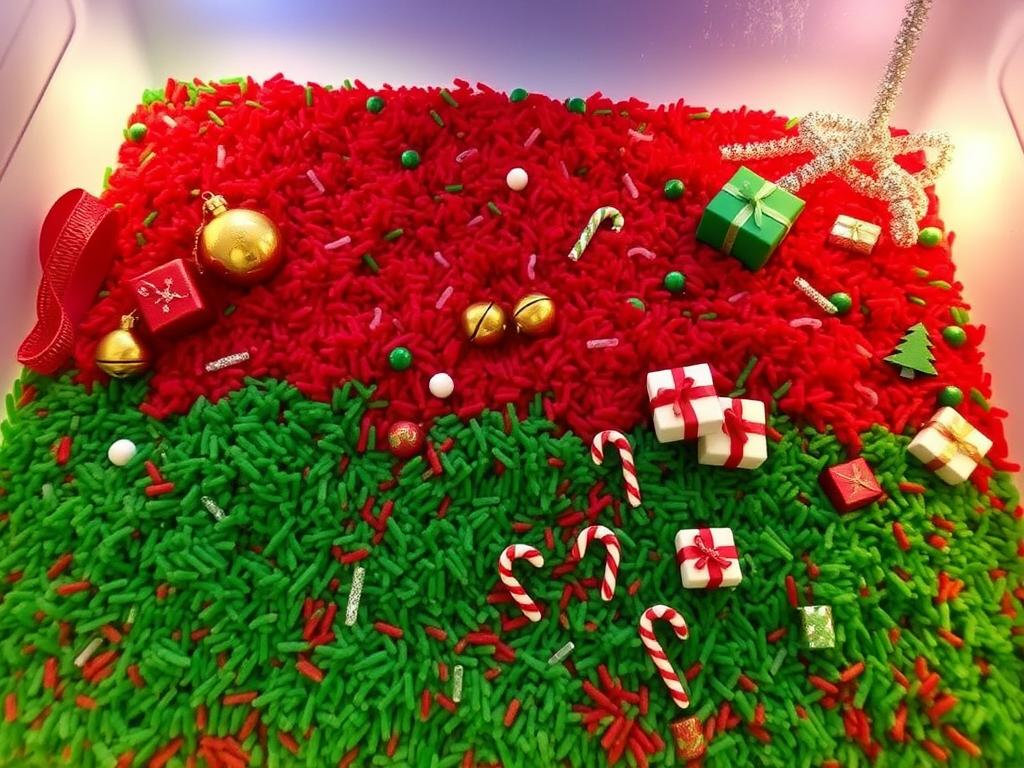
Create seasonal bins that change throughout the year. For winter holidays, use red and green rice with jingle bells, small ornaments, and candy canes. For Halloween, try black and orange rice with plastic spiders and pumpkins.
Materials needed: Colored rice or beans to match the season, holiday-themed small toys and objects, seasonal decorative elements
Skills developed: Cultural awareness, seasonal vocabulary, creative play
Storage and Clean-Up Tips for Sensory Bins
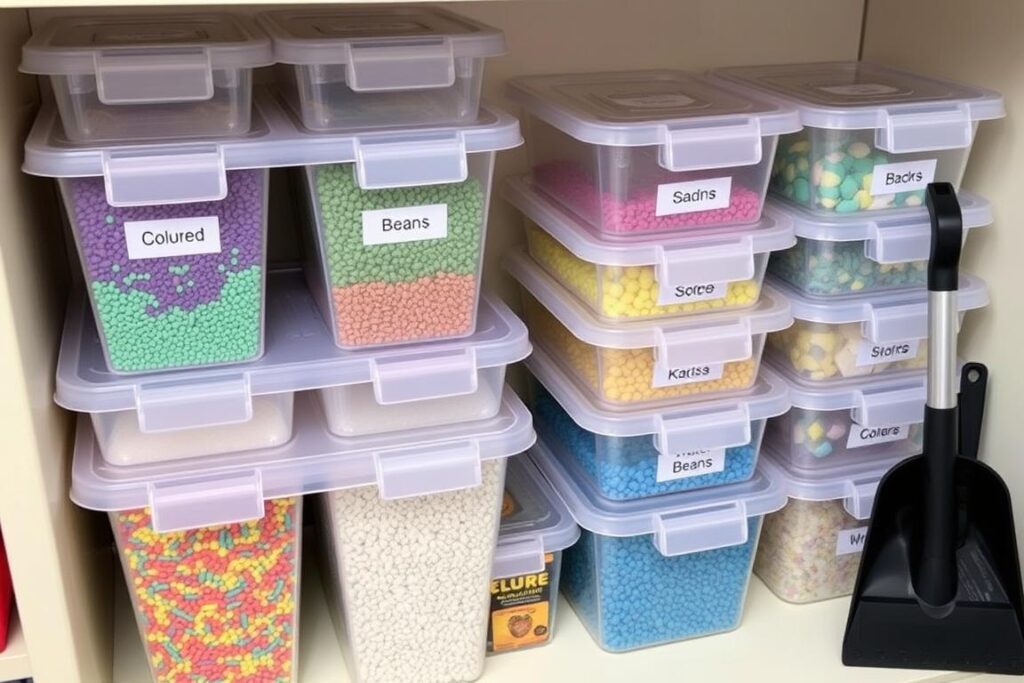
One of parents’ biggest concerns about sensory bins is the potential mess. With these practical storage and clean-up strategies, you can enjoy the benefits of sensory play without the stress.
Smart Storage Solutions
- Use containers with tight-fitting lids to store sensory materials between play sessions.
- Label everything with contents and date created to keep track of materials.
- Store dry materials like rice, beans, and pasta in airtight containers to prevent moisture and pests.
- Keep themed materials together in ziplock bags inside the main container for quick setup.
- Rotate sensory bins rather than having them all accessible at once to maintain interest and save space.
Mess-Minimizing Strategies
- Designate a specific area for sensory play, ideally with easy-to-clean flooring.
- Use a splash mat, tablecloth, or old sheet under the bin to catch spills.
- Try a sensory table with raised edges if you have space and budget.
- Establish clear rules about keeping materials in the bin.
- Keep a handheld vacuum or dustpan nearby for quick cleanups.
- Consider outdoor play for particularly messy materials when weather permits.
Extending the Life of Your Sensory Materials
- Check dry materials regularly for moisture or signs of pests.
- Refresh scented materials with a few drops of essential oil when the scent fades.
- Discard food-based materials if they show any signs of mold or unusual odor.
- Sanitize plastic toys and tools regularly, especially if shared between children.
- Add new elements to existing bins to renew interest without creating entirely new setups.
Frequently Asked Questions About DIY Sensory Bins
Are sensory bins messy?
Sensory bins can involve some mess, but with proper setup and clear boundaries, the mess can be minimized. Use a tablecloth or sheet under the bin, establish rules about keeping materials in the bin, and have cleaning supplies nearby. The developmental benefits far outweigh the temporary mess!
How long do sensory bin materials last?
Dry materials like rice, beans, and pasta can last for months when stored properly in airtight containers. Wet materials like cloud dough should be discarded after a few days. Always check materials before reuse and discard anything with unusual odors or appearance.
What if my child puts sensory materials in their mouth?
For children who still mouth objects, choose taste-safe materials like plain rice, pasta, or edible cloud dough made with vegetable oil instead of baby oil. Always supervise sensory play and gradually introduce rules about not eating the materials as your child develops.
How often should I change our sensory bin?
This depends on your child’s interest level. Some children enjoy the same sensory bin for weeks, while others prefer variety. Watch for signs of waning interest, then introduce new elements or create an entirely new bin. Rotating between 3-4 different bins can keep the experience fresh.
What’s the best age to start sensory bins?
Children as young as 12 months can enjoy simple sensory experiences with close supervision. For toddlers and young preschoolers, use larger materials that aren’t choking hazards. As children grow, you can introduce more complex materials and themes that align with their interests and developmental needs.
Start Your Sensory Play Journey Today
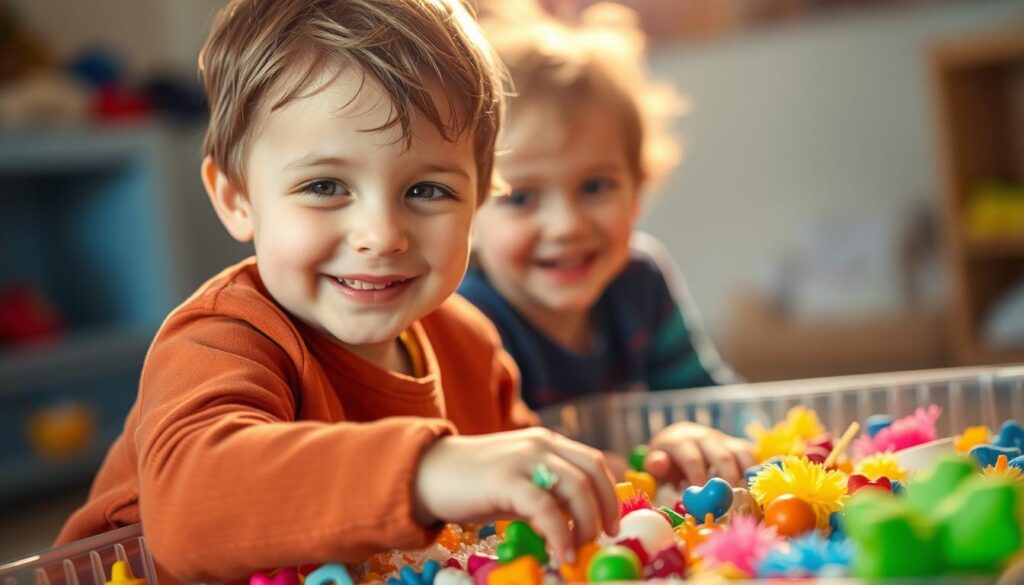
DIY sensory bins offer an incredible opportunity to support your preschooler’s development through play. With just a few simple materials and a bit of creativity, you can create engaging activities that will captivate your child’s imagination while building essential skills.
Remember that the process of exploration is more important than creating a perfect-looking bin. Follow your child’s lead, observe what materials and themes spark their interest, and don’t be afraid to get a little messy in the name of learning!
Ready to get started? Choose one of the simple ideas from this guide, gather your materials, and watch your child’s face light up with the joy of discovery. Your sensory play adventure begins now!

Eduard Kingly is a travel and lifestyle content creator with a focus on personal development and education. He combines firsthand travel experiences with research-driven insights to guide readers in discovering new places, building better habits, and pursuing meaningful learning.

